

2014-2023 GX460 Bull Bar Kit Installation Guide

Before the installation, remove the factory front lower valance and lower air deflector.
They are held together with twelve white nylon clips, seven black 10 mm bolts and one push pin in total, as shown in the picture above.
Now, start the installation one side at a time. Pictures below show the driver side installation process.

First, remove the three 14 mm bolts on the outer side of the bumper impact bar brackets (crush can) on the driver side of the frame rail.
DO NOT remove the one bolt on the inner side of the crush can.
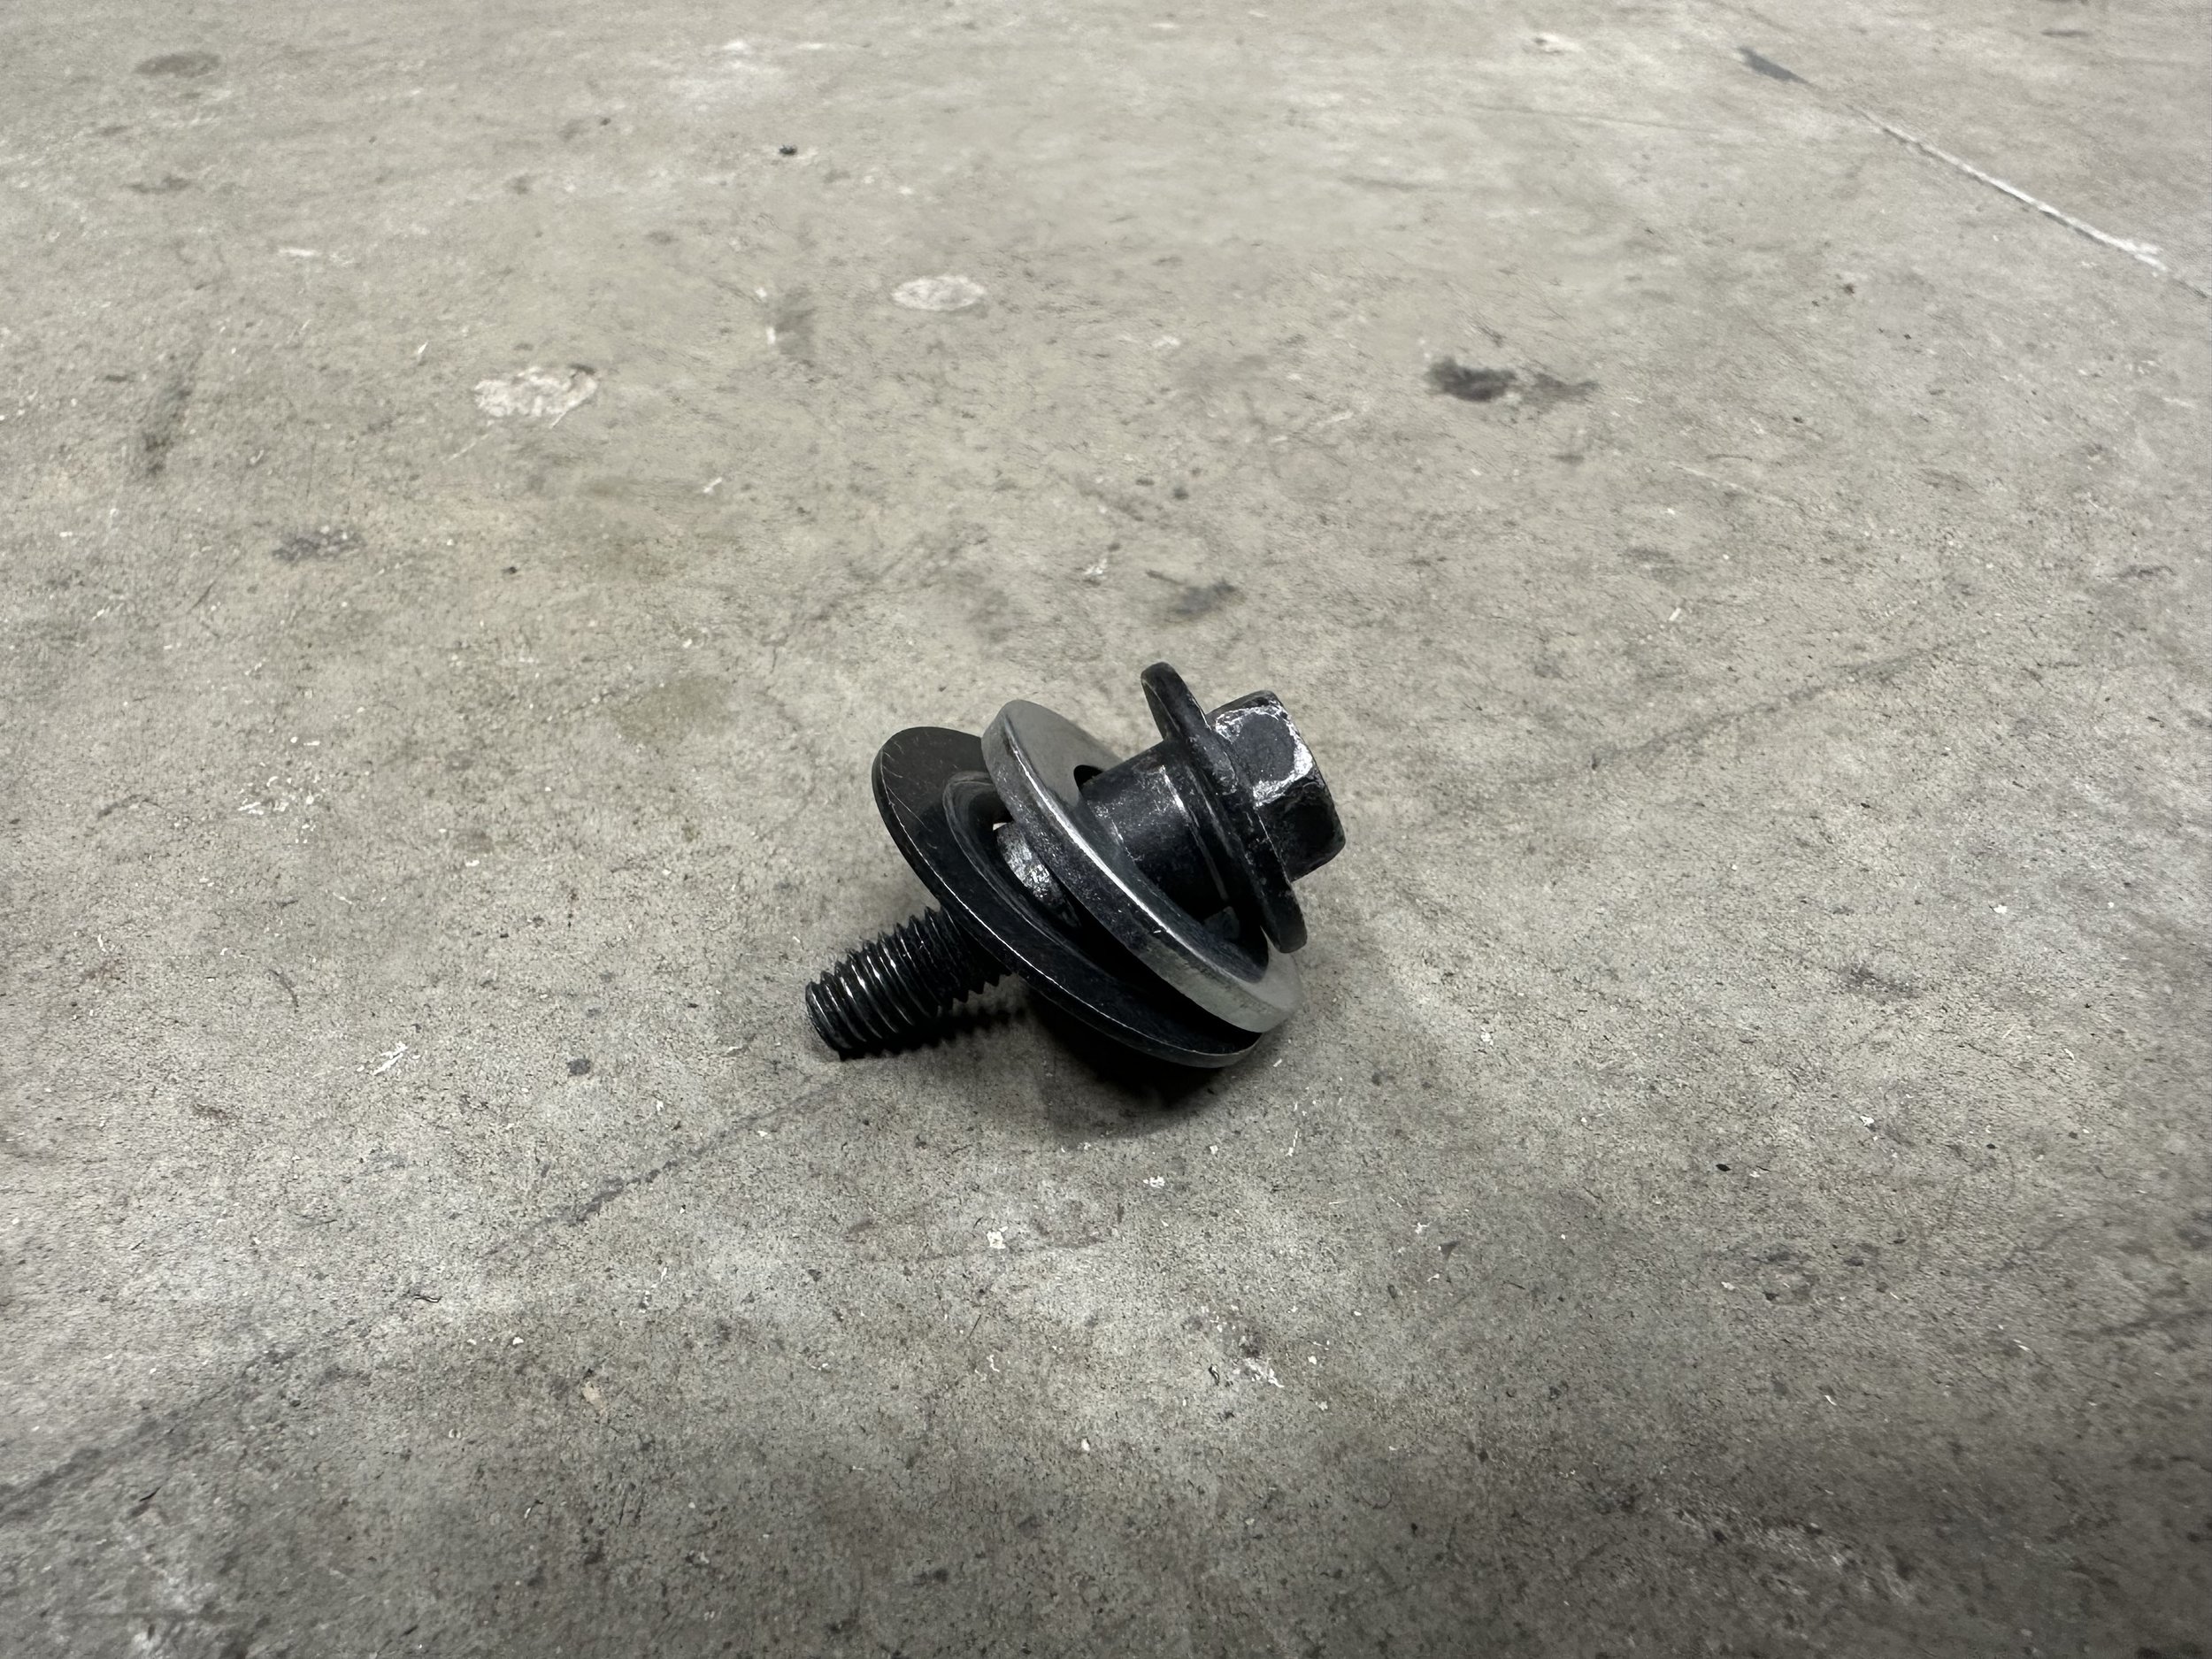
Then, remove the 10 mm black bolt on the end of the bumper impact bar (bumper beam). Remove the rubber ring taped on the side bracket and rubber washer on the bolt.
Keep the original bolts for later use.


Place one spacer plate on the back side of the hanger bracket with the thicker side facing away from the center of the vehicle, and then place the three 14 mm bolts back with one M10 washer on each bolt, as shown in the pictures above. The spacer plate is sandwiched in between the crush can flange and the hanger bracket. Hand tighten the three bolts enough to keep the hanger bracket in place, but not too much so that you can still adjust the placement later. The washers are provided in the kit.

Next, place two of the provided washers on top of the bolt hole next to the factory tow hook.
If you have an aftermarket shock with a remote reservoir mounted in the same location, remove the bolt and skip the two washers.
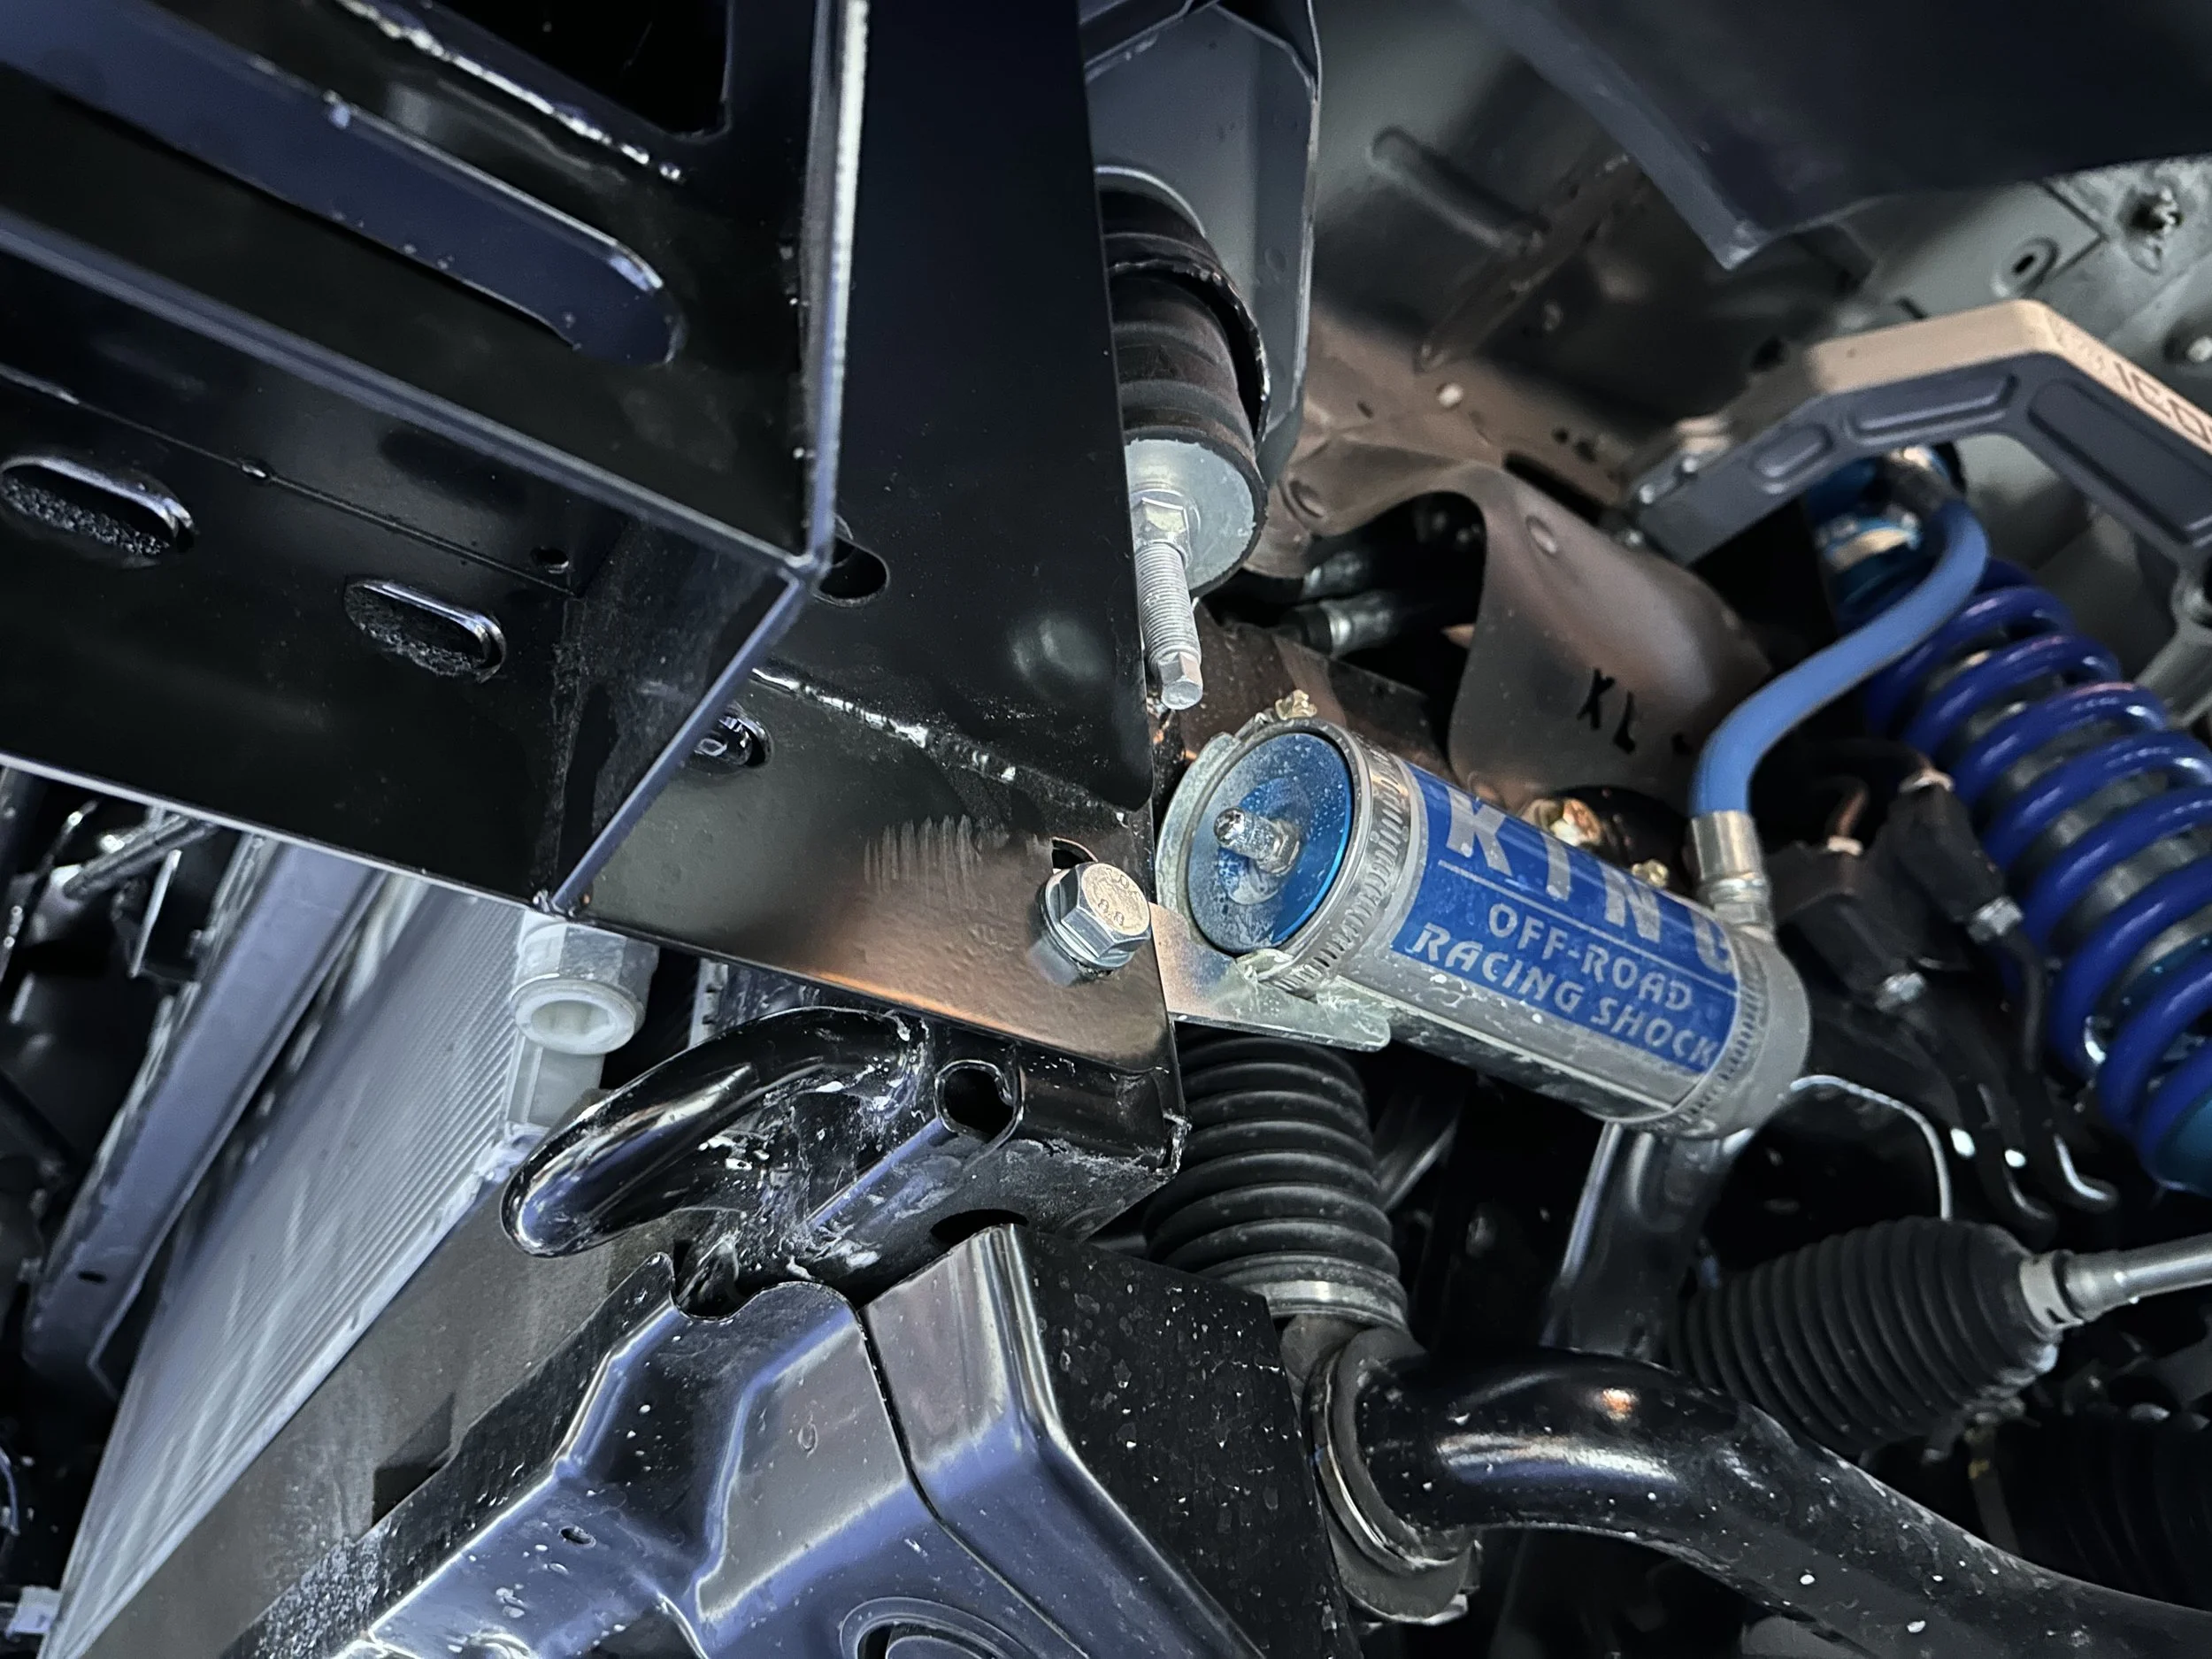
Place the driver side adapter under the hanger bracket, and hand tighten one provided M12-1.25x25 mm bolt with one washer onto the bolt hole next to the factory tow hook.
Make sure the two washers from the previous step are sandwiched in between the frame and the adapter.


Place three sets of one M12-1.25x25 mm bolt, one nut and two washers (one on each side) into the bolt hole locations as shown in the pictures above. Hand tighten them.
Then move the assembly around to make sure that the adapter sits parallel to the bumper impact bar and level with the frame rail. The rubber damper pads (indicated by the lines in the picture) on the adapters should be tightly against the bumper impact bar.
Our slotted bolt hole design compensates for the manufacturing tolerance of the frame rails, in order to ensure perfect fitment for all Model Years.

Once the adapter is correctly positioned, remove the three sets of bolts and nuts holding the adapter onto the hanger bracket. Leave the rear bolt on. This allows you to swing the adapter down and leave it hanging.
Go back and properly tighten the three factory 14 mm bolts holding the hanger bracket. Torque them down to 48 ft-lbs./65 Nm.


Swing the adapter back onto the hanger bracket. Install four sets of provided M12-1.25x25 mm bolts and nuts with a washer on each side, as shown above. Torque all five bolts down to 60 ft-lbs./80 Nm.

Next, slide one provided washer above the side of the adapter, in between the bumper impact bar side bracket and the adapter itself.
Reinstall the factory 10 mm bolt without the original rubber spacers, keeping only the black washer while adding one extra provided washer from the kit. Torque it down to 10 ft-lbs./14Nm. DO NOT OVER-TIGHTEN THIS BOLT.


Then, slide in the plug and insert two sets of M12-1.25x50 mm bolts from the bottom, with nuts on top and one washer on each end. Start with the rear bolt and then the front. A wrench is recommended for the nuts on top, for an easier installation. Torque them down to 60 ft-lbs./80 Nm.
Repeat the whole process with the passenger side assembly.


Before the bull bar goes on to the adapters, install the two included Radar Wave Cancellation Foam Strip (with pre-installed 3M double-sided tape) onto the back side of the bull bar.
Make sure to place them along the inner edge of the bull bar and about 59 mm or 2.3 inches from the top inner corner of the bull bar.
Skip this step if your vehicle is not equipped with front parking sensors, or if you plan to disable the beeping tone of the parking sensors in the settings of the gauge cluster.


Finally, align the bull bar itself with the plugs. Install 6 sets of M12-1.25x25 mm bolts, nuts and one washer on each end. Hand tighten them for adjustment.
After positioning the bull bar, torque the bolts down to 60 ft-lbs./80 Nm.
Lastly, reinstall the factory air deflector. If you have purchased the GX460 Skid Plate Extension, you will not be needing the air deflector anymore.

Now you are ready to hit the shopping malls and off-road trails. Enjoy!
