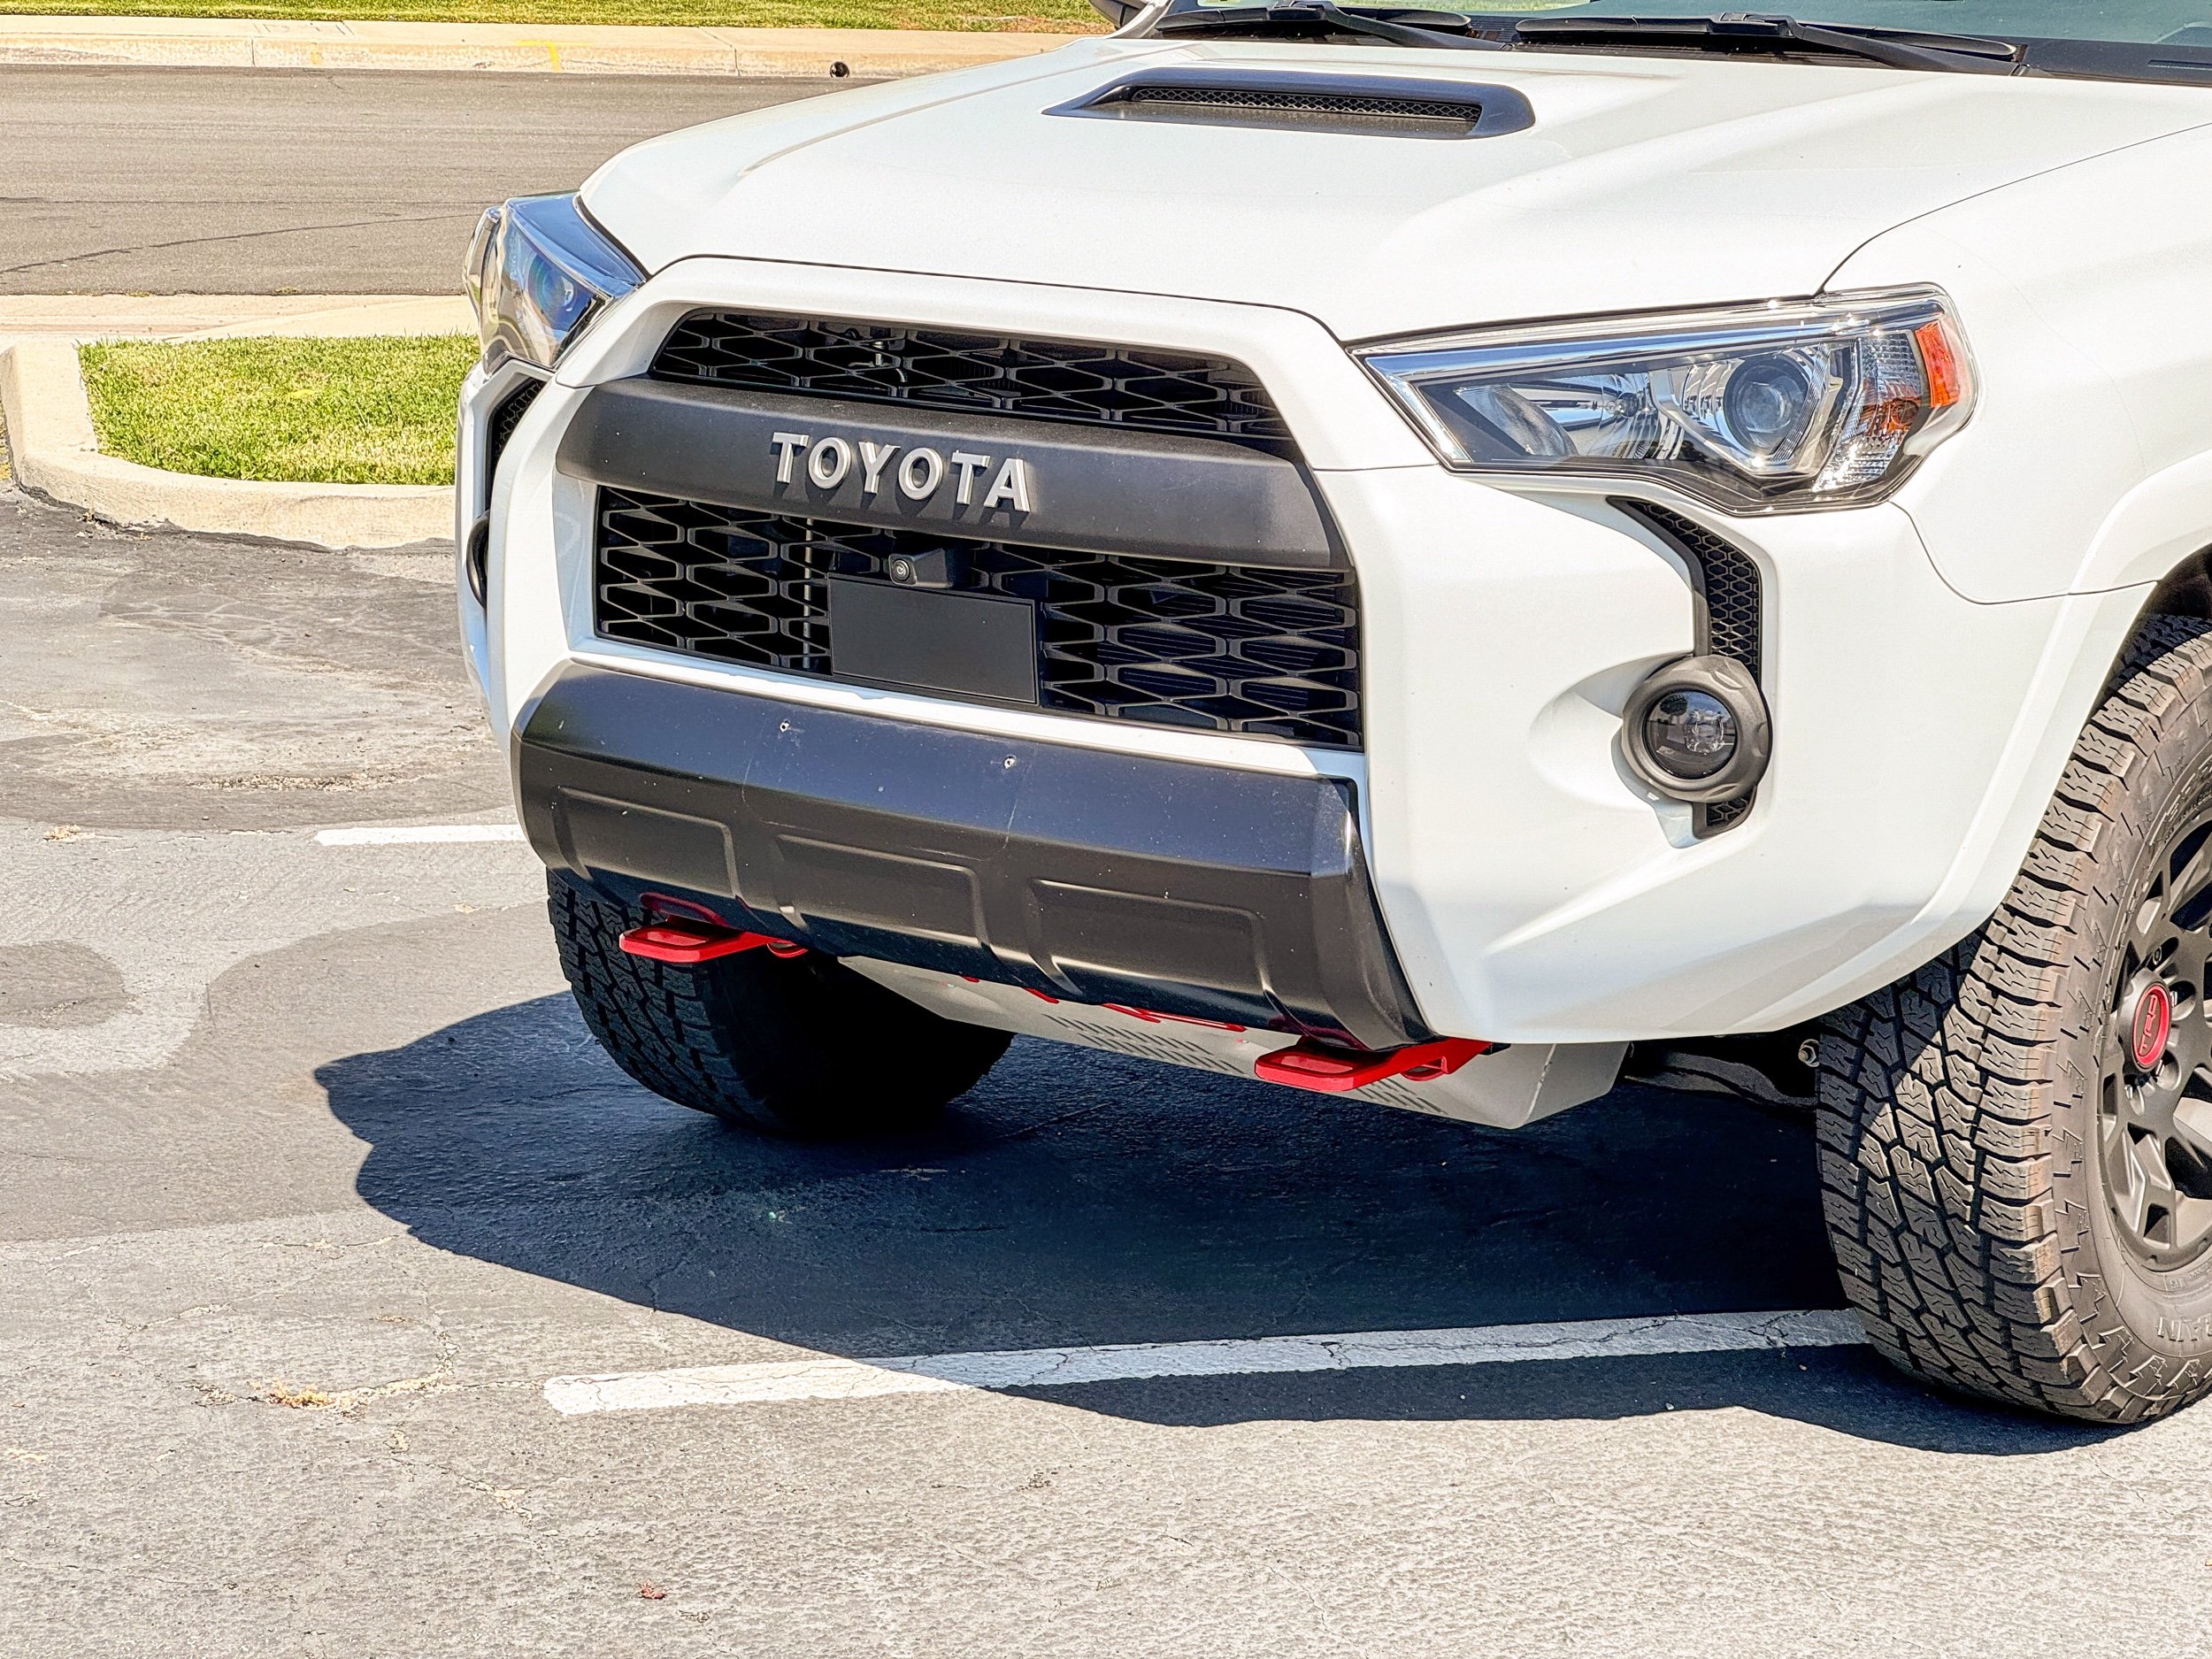
2014-2024 Toyota 4Runner Front Recovery Points Installation Guide
Before the installation, remove the sticker that covers the OEM M12 bolt locations on each end of the front frame near the tow points.
We recommend removing any skid plates and plastic trims for better clearance during the installation.
Remove the lower two M10 bolts on the outer side and one M10 bolt on the inner side of the frontal crush cans.
Make sure to leave the upper bolt tightened, in order to prevent the crash bar from dropping.
Position the recovery point from underneath, and make sure to have the cylindrical part sit inside of the factory tow points.
Thread in 3 M10 bolts with washers, and leave them loose for adjustments.
Insert a washer in-between the frame and the recovery point on the outer side bolt location.
Thread in a bolt with a washer on the side of the frame.
Install the lower bolt and washer with one of the half circle plates provided, as shown in the picture.
Once all the bolts are in place, slowly tighten up all the bolts while rotating between them to ensure the best fit.
Torque down all the M10 bolts to 48 ft-lbs./65 Nm. and M12 bolts to 75 ft-lbs./101 Nm.
Covering up the sides of the recovery points with masking tape is highly recommended to prevent paint damage on the powder coat during this process.
Reinstall the lower plastic trim if equipped (some slight trimming is required in order for it to fit it back on).
Enjoy the Recovery Point and the added protection!


