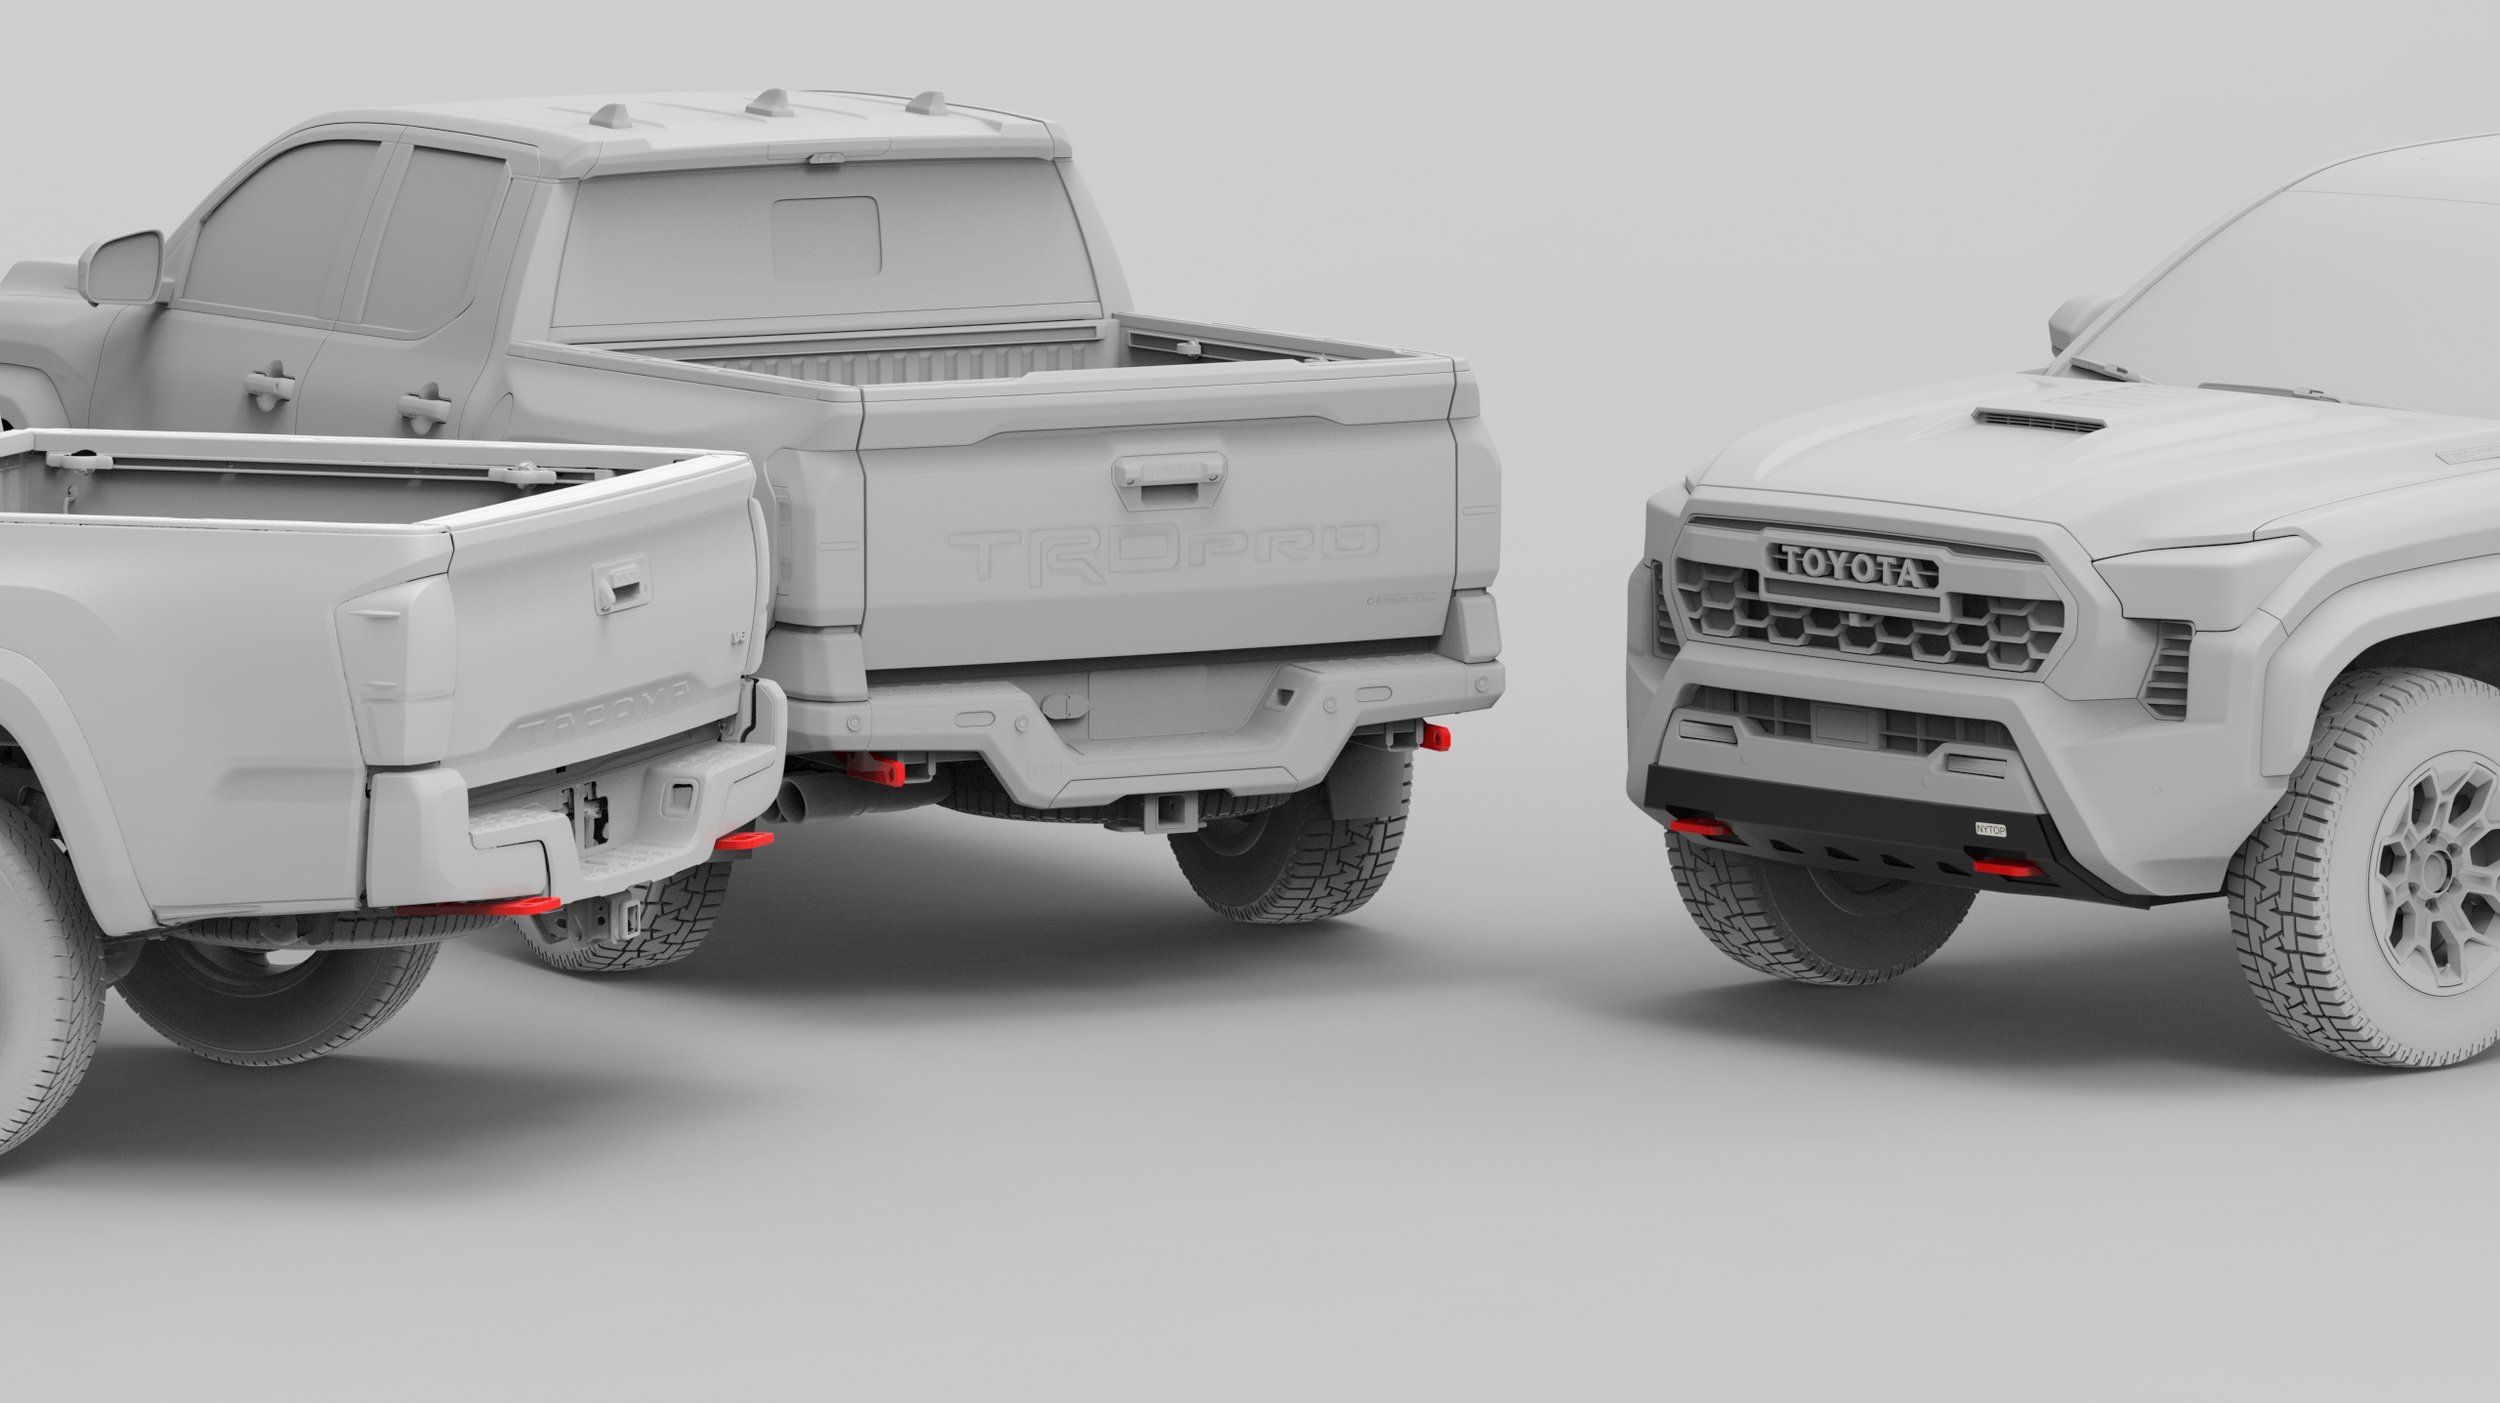
2016-2023 Toyota Tacoma Front Recovery Points Installation Guide

Before the installation, remove the M12 bolts that hold the OEM front recovery point and crash safety brackets on each end of the front frame.
Picture of the Recovery Points and provided hardware.


Remove two 10 mm bolts on each side that hold the wheel liners (shown in 1st picture) and remove the push pin on the front of the liner in the wheel well area (shown in 2nd picture). This will allow you to push the wheel liners up slightly to reveal the bolt locations on each side of the frame.
We recommend removing any skid plates for better clearance during the installation.


Slide in the recovery points from behind on each side of the frame like shown in the pictures (the recovery points are NOT side specific).
Insert 3 of the provided spacers plates on the outer side of the frame, and insert the long bolt from inside out. Use a washer on each end of the bolt and nut.
Do not tighten up yet.


Reinstall one of the OEM M12 bolts on the bottom of each of the recovery points, but do not fully tighten just yet.

Once all the bolts are in place, slowly tighten up all the bolts while rotating between them to ensure the best fit.
Torque down all the bolts to 75 ft-lbs./101 Nm.
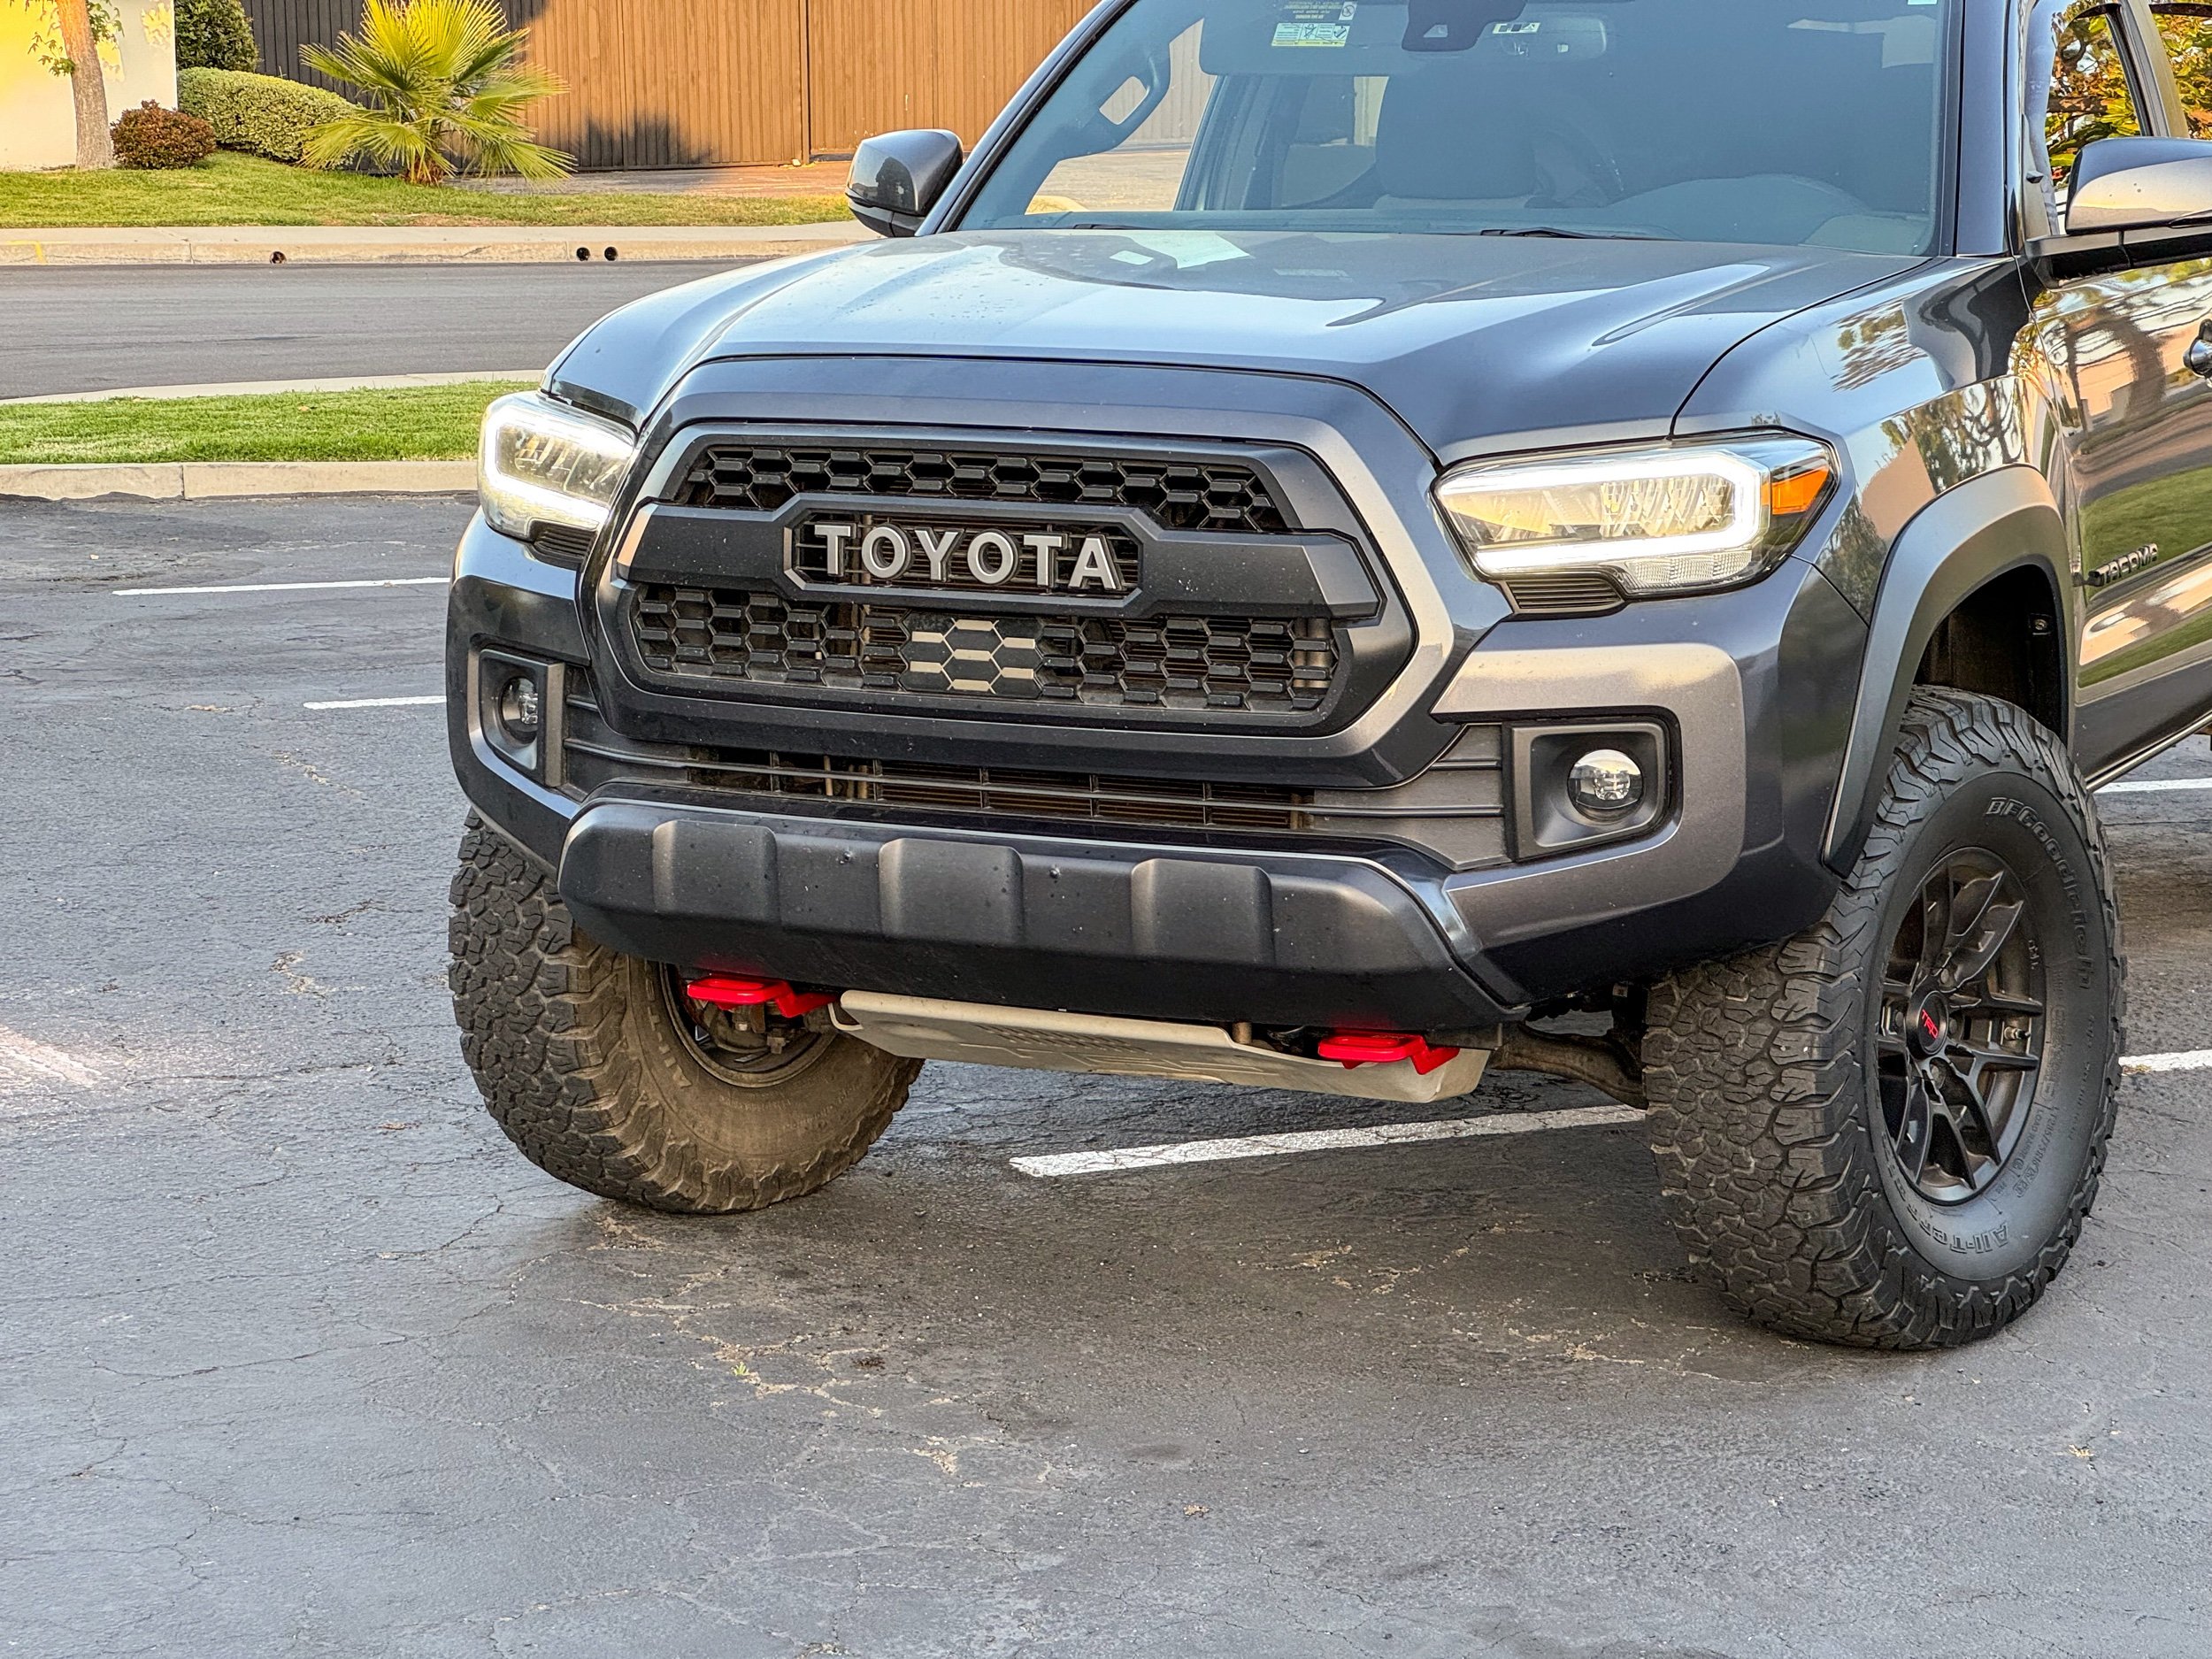
Enjoy the Recovery Point and the added protection!