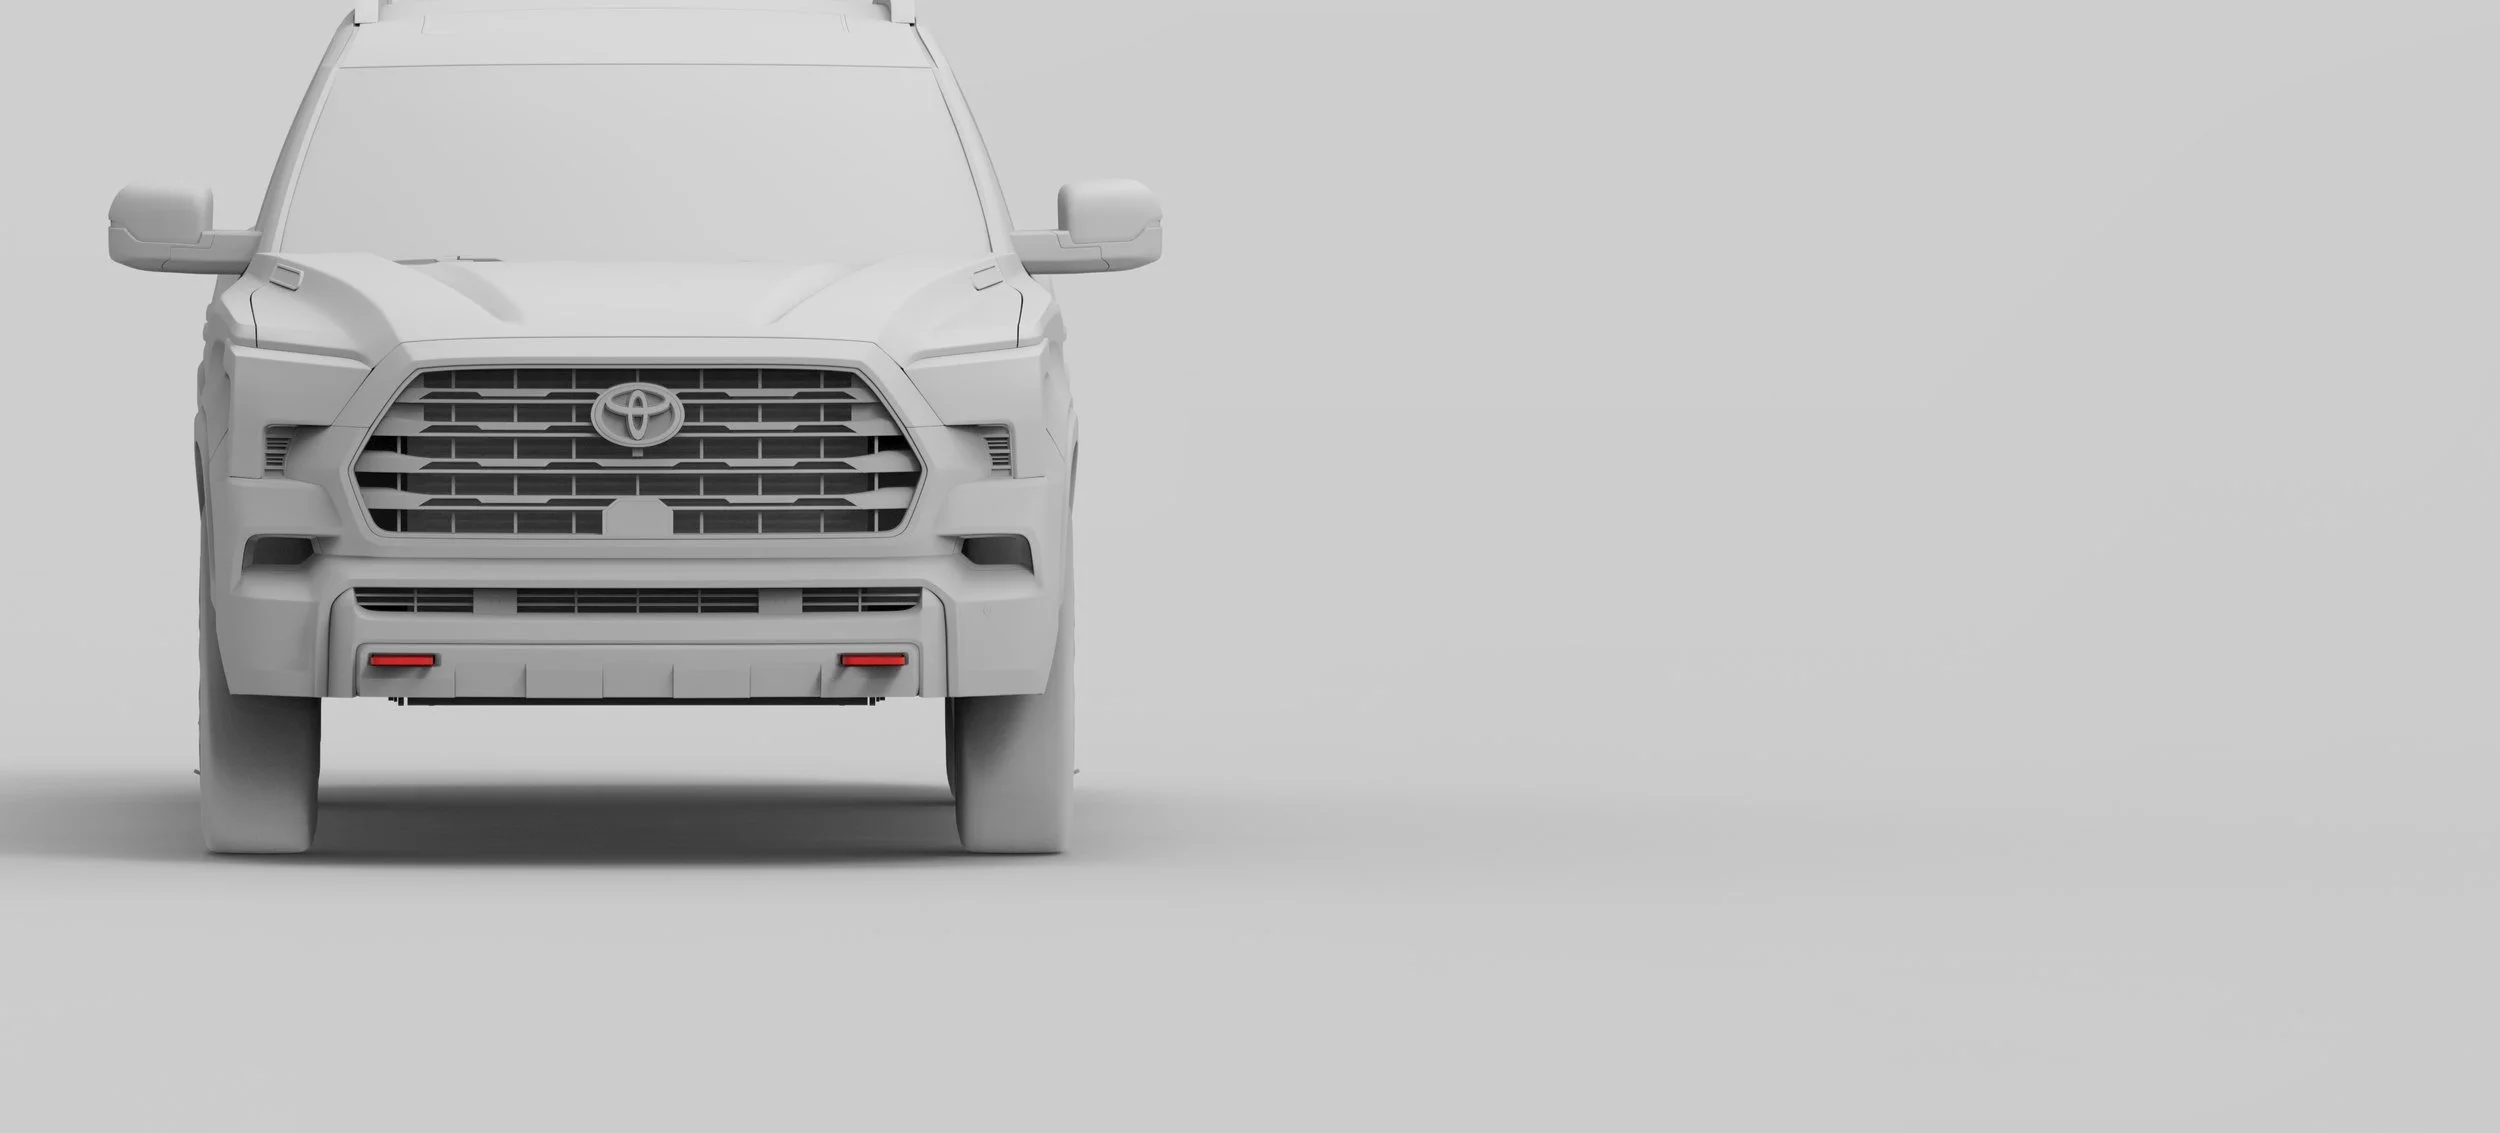
2023-Current Toyota Sequoia Front Recovery Points Installation Guide

Before the installation, remove the factory front lower valance.
It is held on with plastic tabs on the back side. It is accessible from underneath the vehicle without the need to remove the bumper cover.


Remove both of the fog lamps, each held on by two Phillips screws, as shown in the pictures.
NOTE: The removal of the fog lamps will NOT trigger any codes or errors on the dash.
You can choose to leave the plugs unplugged, or you could re-wire them with an aftermarket light bar of your choice to retain the fog light functions.

Next, remove the 4 bolts and the L bracket that connect the bumper crash bar to the frame rails on each side.


Reinstall the 4 OEM bolts with our Front Recovery Points. The Recovery Points will replace the L brackets that were removed from the previous step.
Torque down the M10 bolts (the 2 smaller bolts) to 35 ft-lbs./47 Nm, and the M12 bolts (the 2 larger bolts) to 75 ft-lbs./101 Nm.
Repeat the process on both sides.

This step is optional, for an increased angle pull rating of 12,000 lbs. when using a bridle. Bumper removal may be necessary.
Mark and drill two 15 mm holes on the crash bar, as shown in the picture.
Insert two M12 rivet nuts provided on each side of the crash bar, with a rivet nut tool.
Reinstall the recovery points with two extra provided M12-1.75x35 mm bolts on each side.
Torque them down to 75 ft-lbs./101 Nm.


You may need to bend the fog lamp housing opening plastic slightly, in order to fit the Recovery Points through. No cutting needed.

Reinstall the plastic lower valance, and you are done!
Enjoy the Recovery Points and the added protection!