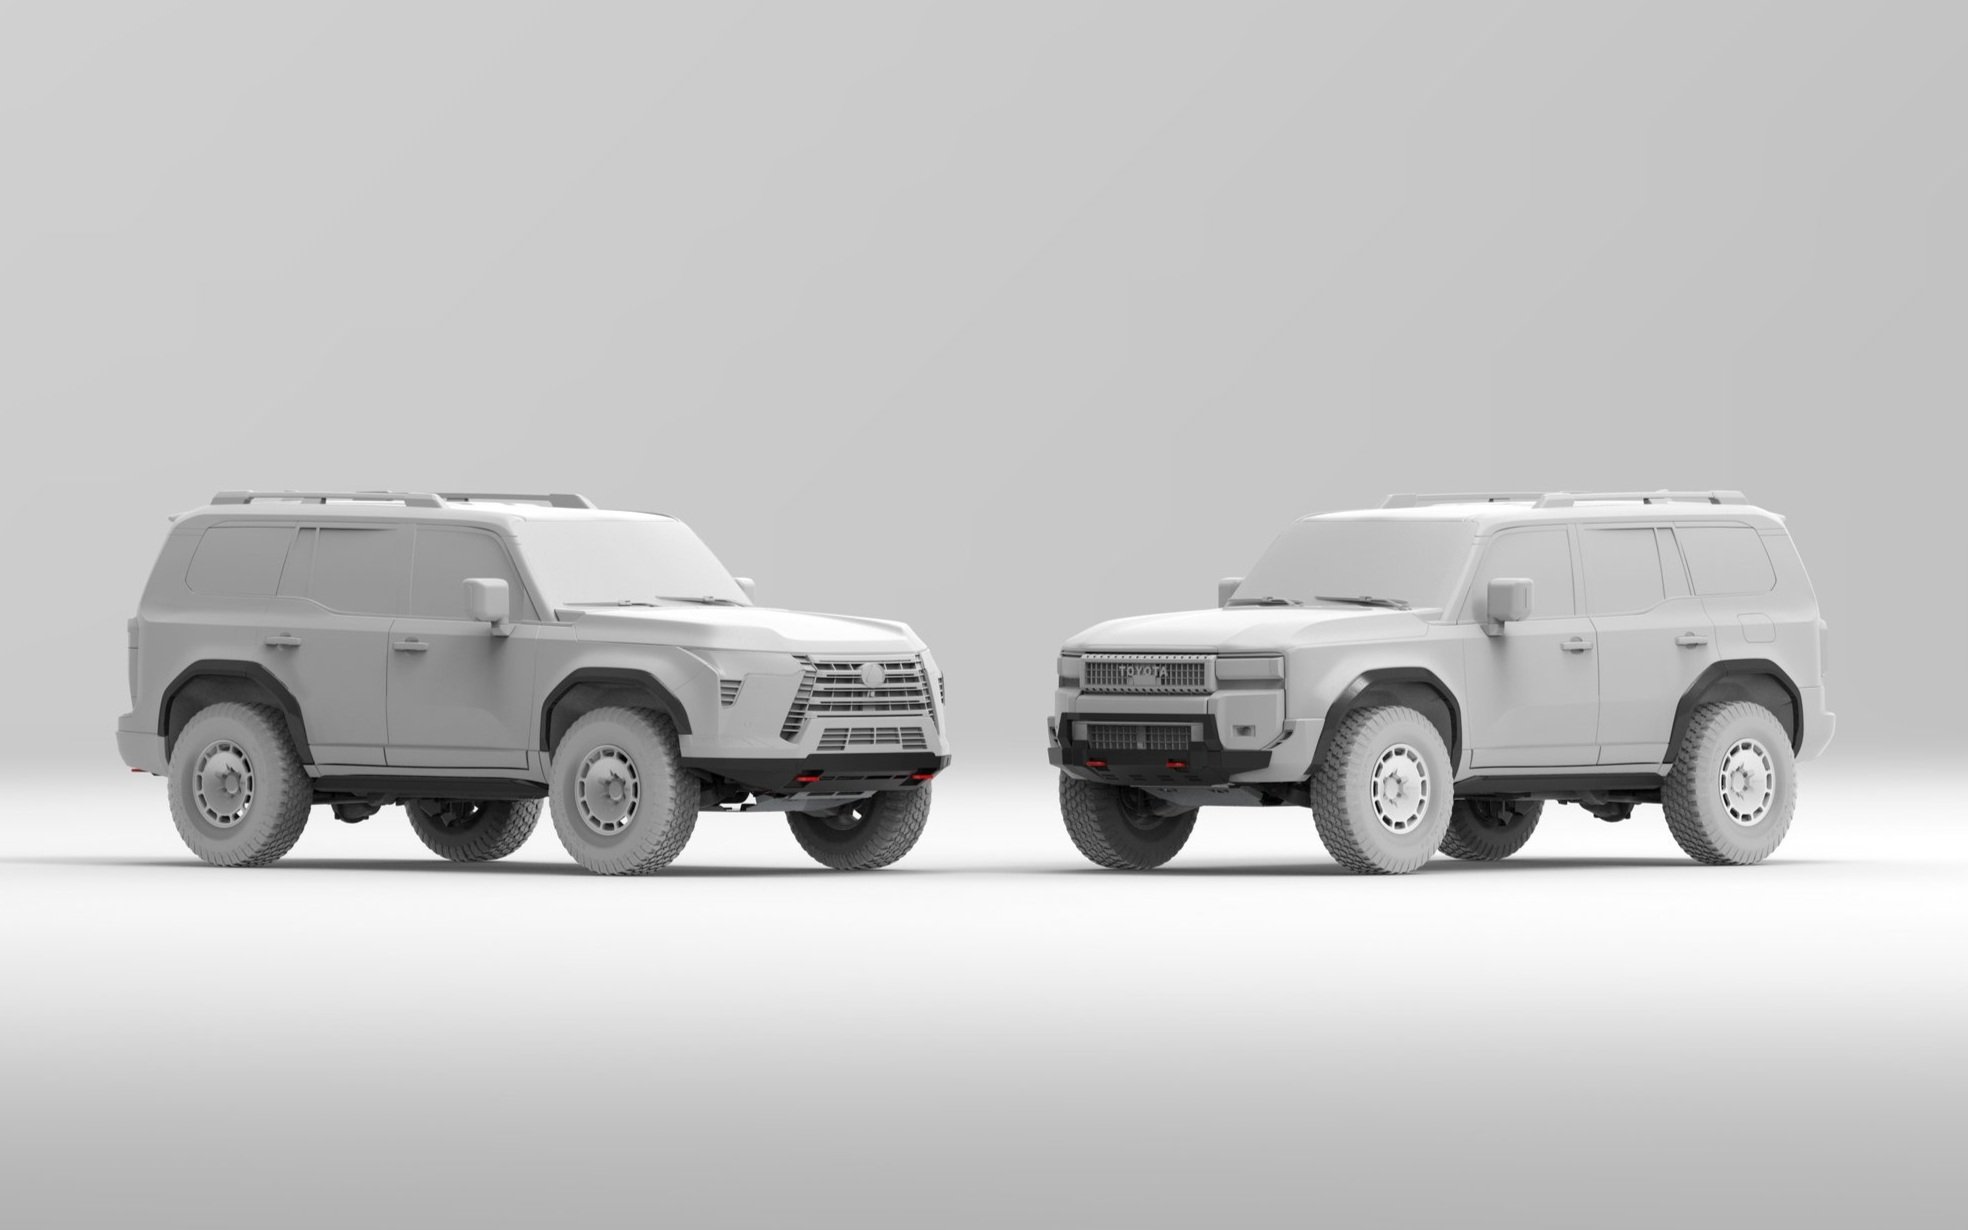
2024-Current Lexus GX550 Front Hybrid Bumper Installation Guide
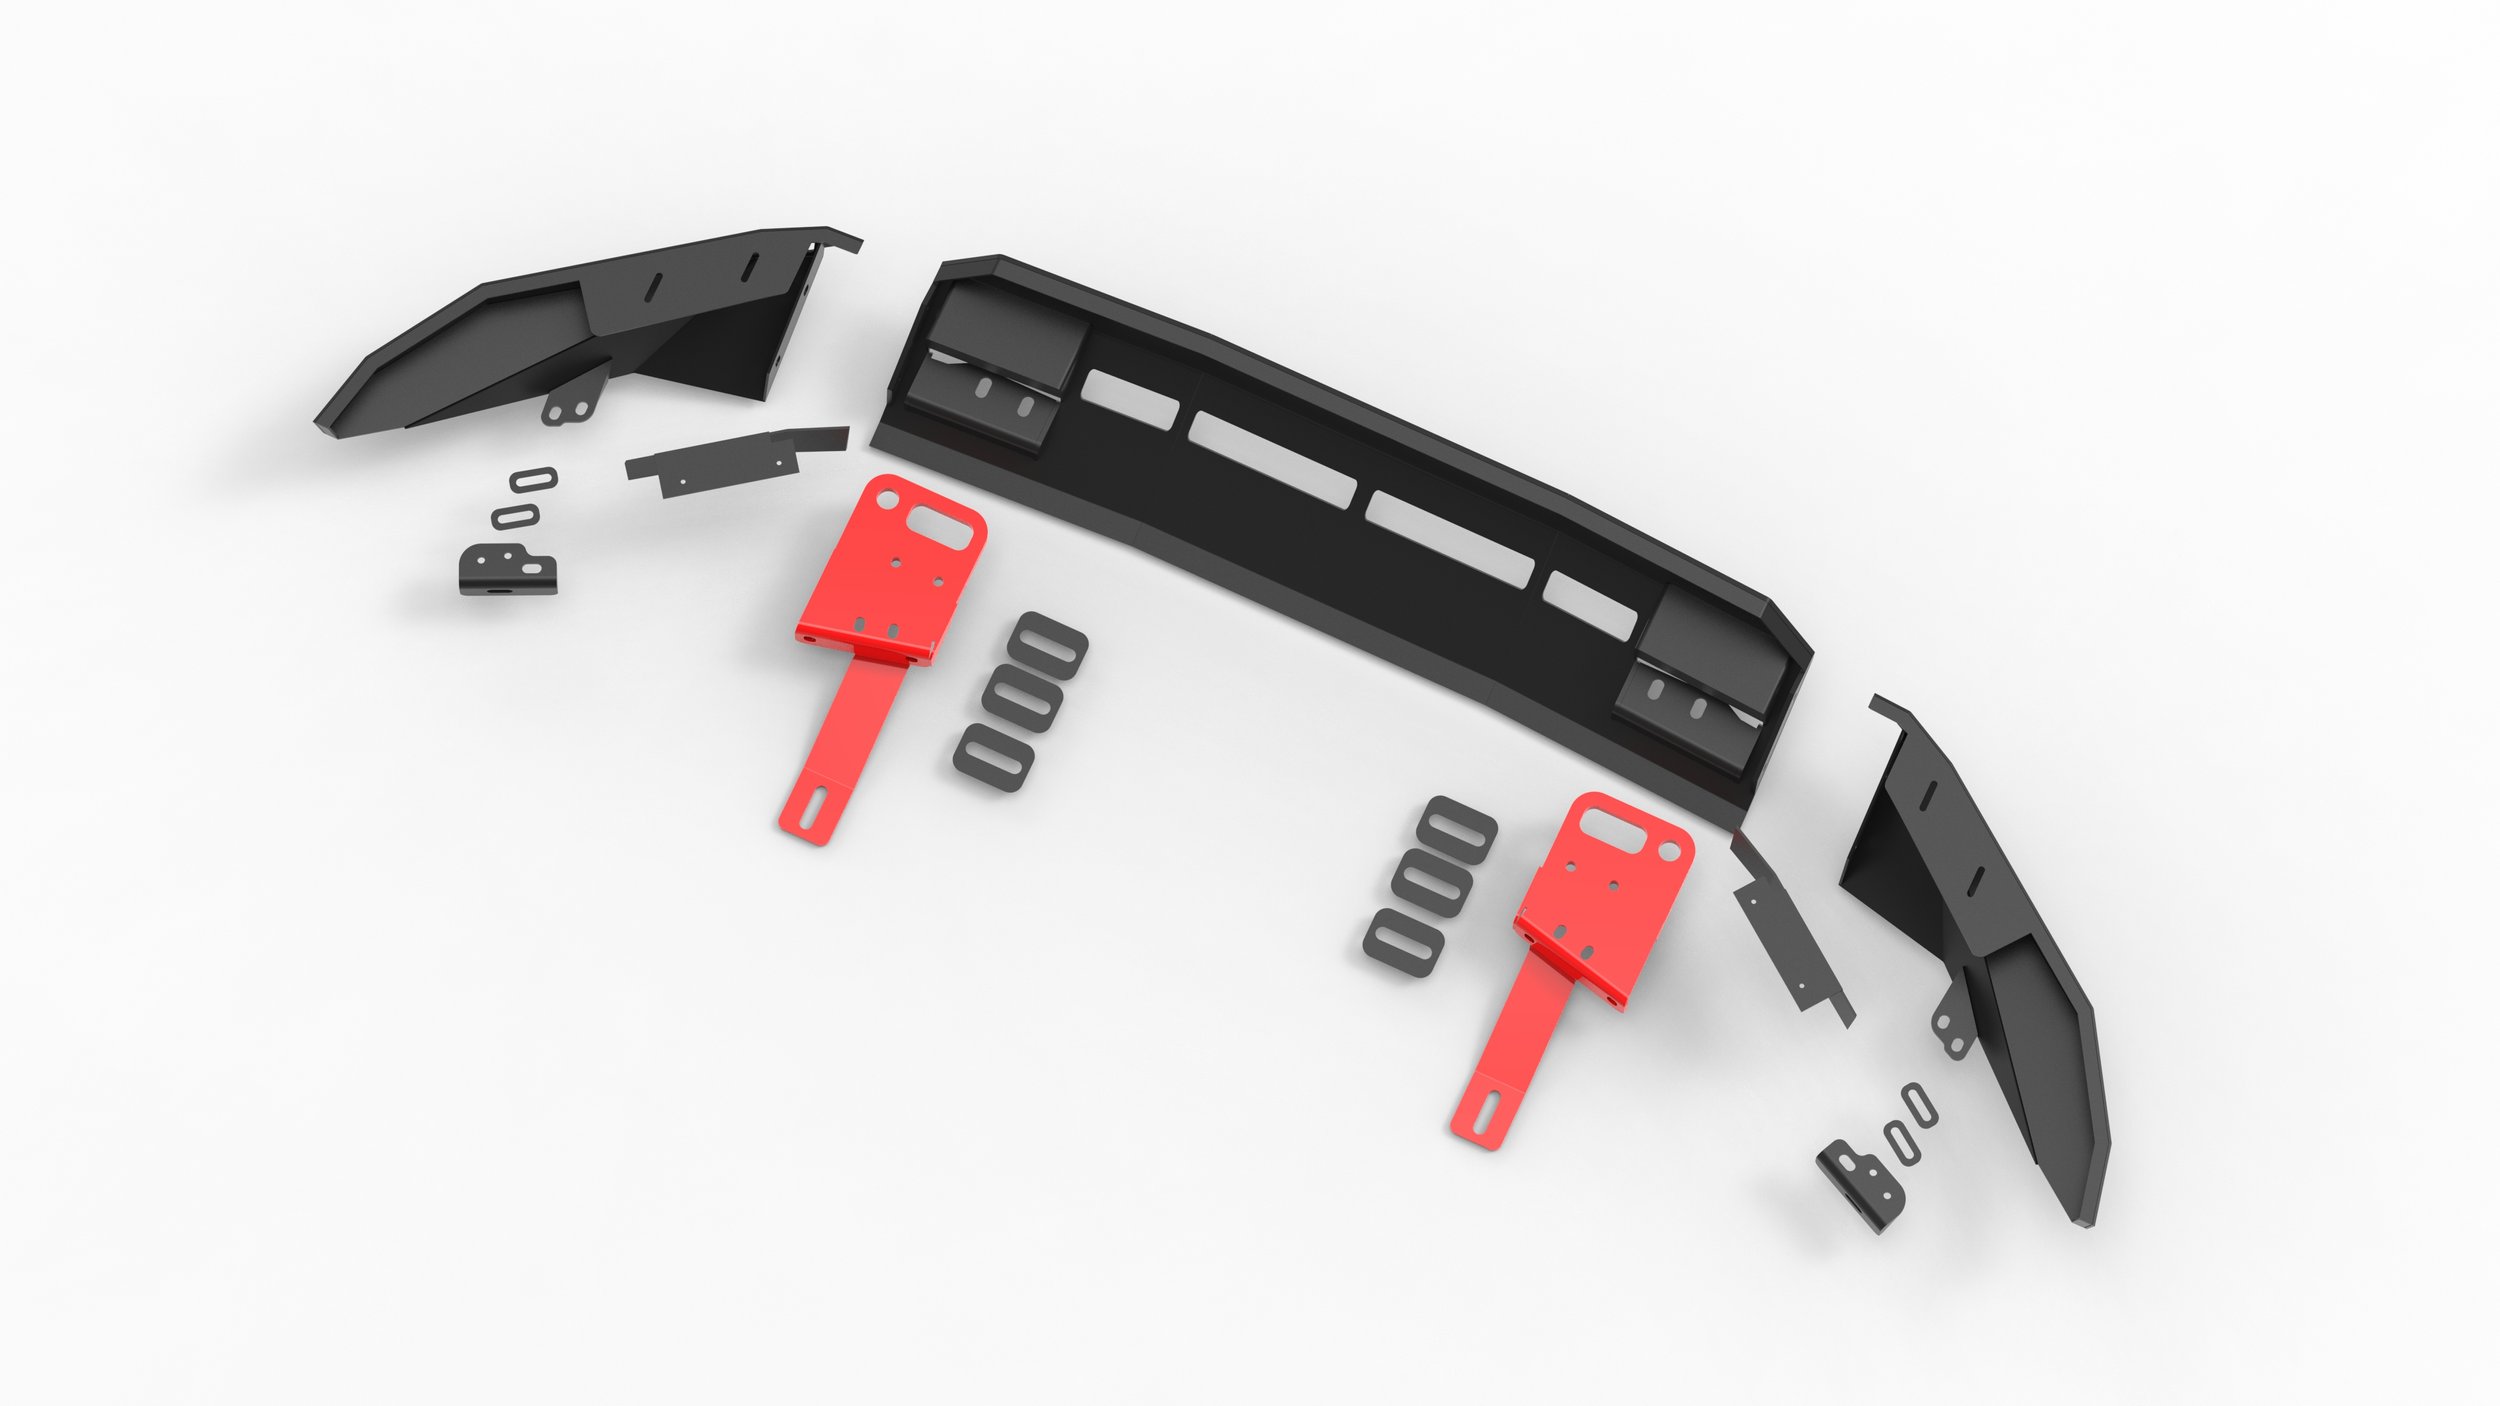
A quick preview of all the parts of the bumper assembly.
Start by removing the lower air dams on each side of the vehicle by removing the 10mm bolts and the push pin clips as shown in the pictures.
Remove the recovery points or tie down points on both sides.
Next, for Overtrail models, remove the extension plate (six M8 bolts) and then the plastic trim behind it.
For non-Overtrail models, it is a similar process without the extension plate.
Remove the air deflector on each side by removing the push pin in the wheel well and the tab on the bottom (twist to remove).
Remove the rest of the bolts (10mm) on each bottom side of the bumper, and 1 push pin in the front lower portion of the wheel well liner. Pull the front of the wheel well liner to reveal the nylon clips behind.
Reach in from the wheel well and from the bottom, and remove 3 nylon clips on each side holding the lower valance to the bumper cover.
Remove 6 nylon clips in the middle section of the lower valance. They can be reached through the lower front grille openings.
The lower valance can now be removed without the need to remove the whole front bumper cover.
Remove the plastic crash bar cover held on with a couple tabs in the middle.
Remove the lower middle bracket from the crash bar, and the lower side brackets. Keep the OEM bolts.
Pictures of the brackets removed.
Remove the metal bracket sandwiched between the front skid plate and the frame, if equipped, and then reinstall the skid plate.
Install the two NYTOP side brackets and the two NYTOP recovery points with OEM hardware. Keep the two side brackets slightly loose for future adjustments.
On the recovery points, torque down the M10 bolts (the 2 smaller bolts) to 35 ft-lbs./47 Nm, and the M12 bolts (the 4 larger bolts) to 75 ft-lbs./101 Nm.
Test fit the middle bumper, and make adjustments to the recovery points if needed.
Remove the middle bumper for the next step.
Tuck up any wiring that might be hanging low with zip ties.
Assemble the 3-piece modular bumper together off the vehicle using the supplied M10 bolts and washers. Install Baja Designs S2 lights with our supplied M6 bolts and nuts now if you have them. If not, install the two block off plates with the supplied M6 bolts.
Optional: install a stick-on rubber trim between the plastic bumper and the NYTOP bumper for a cleaner look.
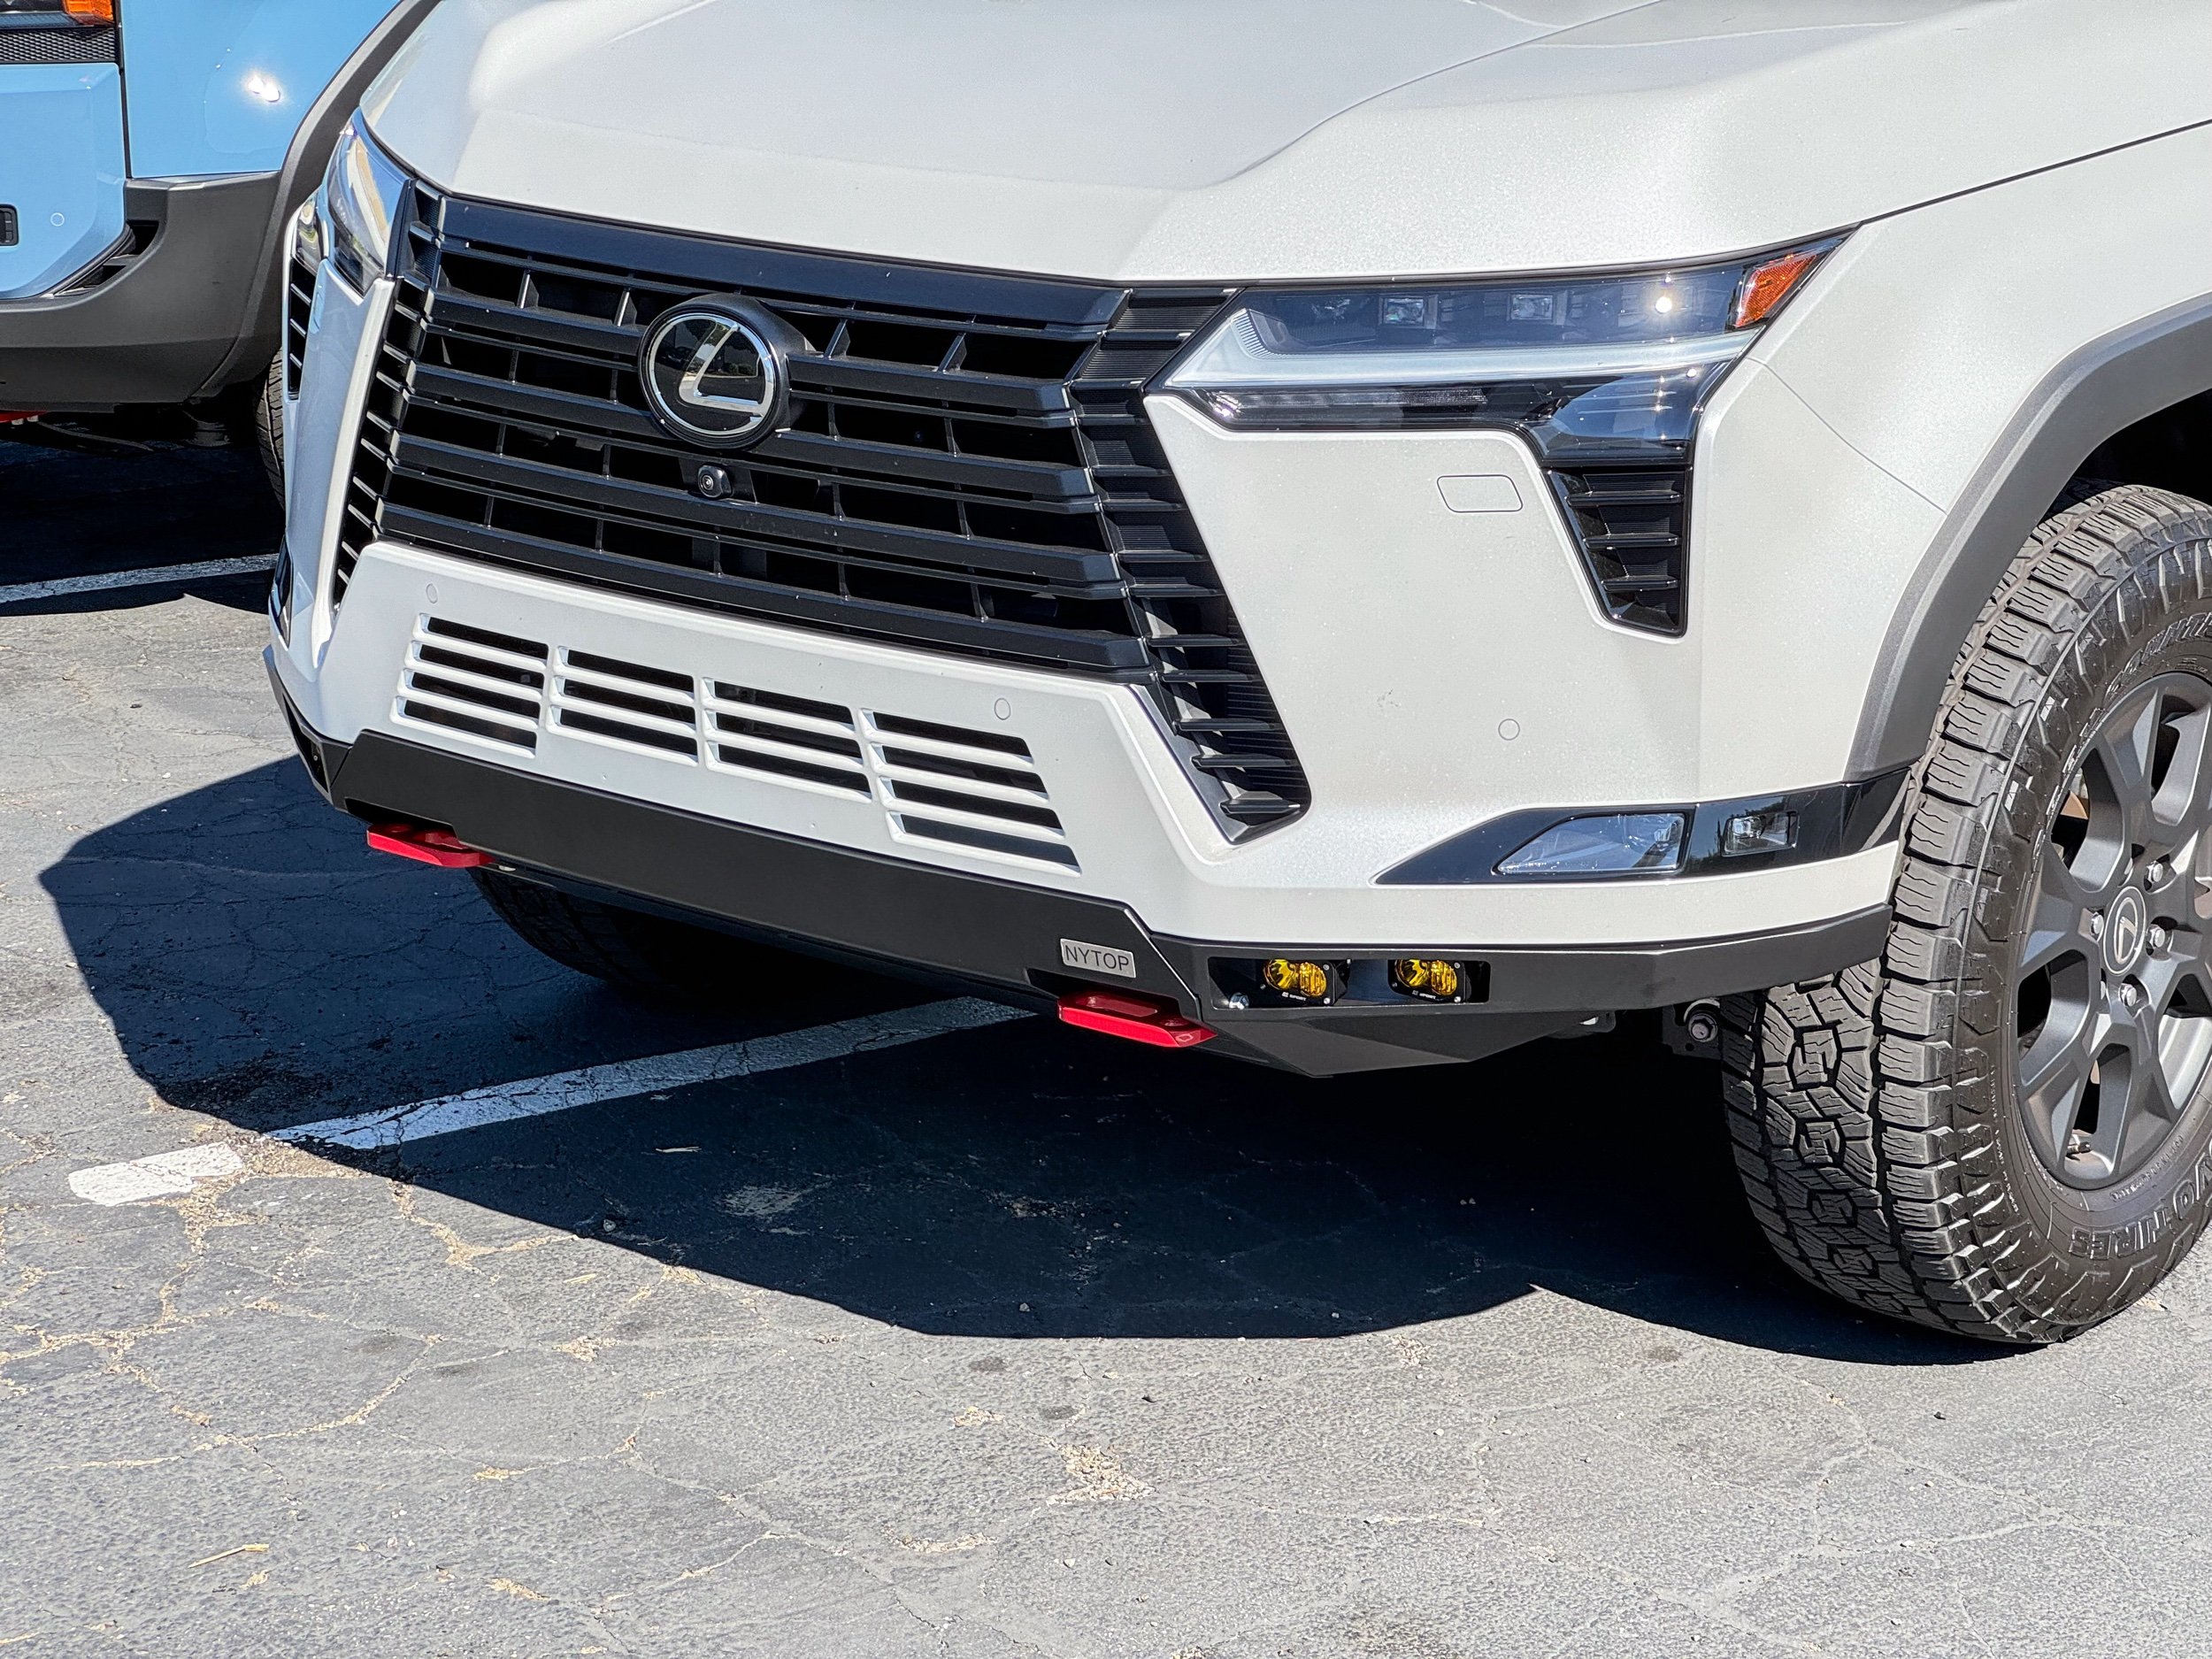
Slide the bumper onto the recovery points and install 8 of the supplied M12 bolts with washers to secure the bumper to the vehicle. Adjust the two side brackets if needed.
The height can be adjusted with the supplied square spacer plates and washers, if needed. We recommend starting with all the spacer plates provided.
Torque down all the M10 (smaller) bolts to 35 ft-lbs./47 Nm, and all the M12 (larger) bolts to 75 ft-lbs./101 Nm.
Be mindful of the M6 bolts holding the Baja Designs lights or the block off plates, so that they don’t scratch the paint on the bumper cover. Use a plastic trim tool if necessary to help guide them in.
Trim the wheel well liner accordingly by scoring it with a sharp blade and tearing it off for the cleanest cut.
Reinstall the one push pin and secure the liner with zip ties.
Enjoy the Recovery Points and the added protection!


