2024-Current Toyota Land Cruiser Front Hybrid Bumper Installation Guide
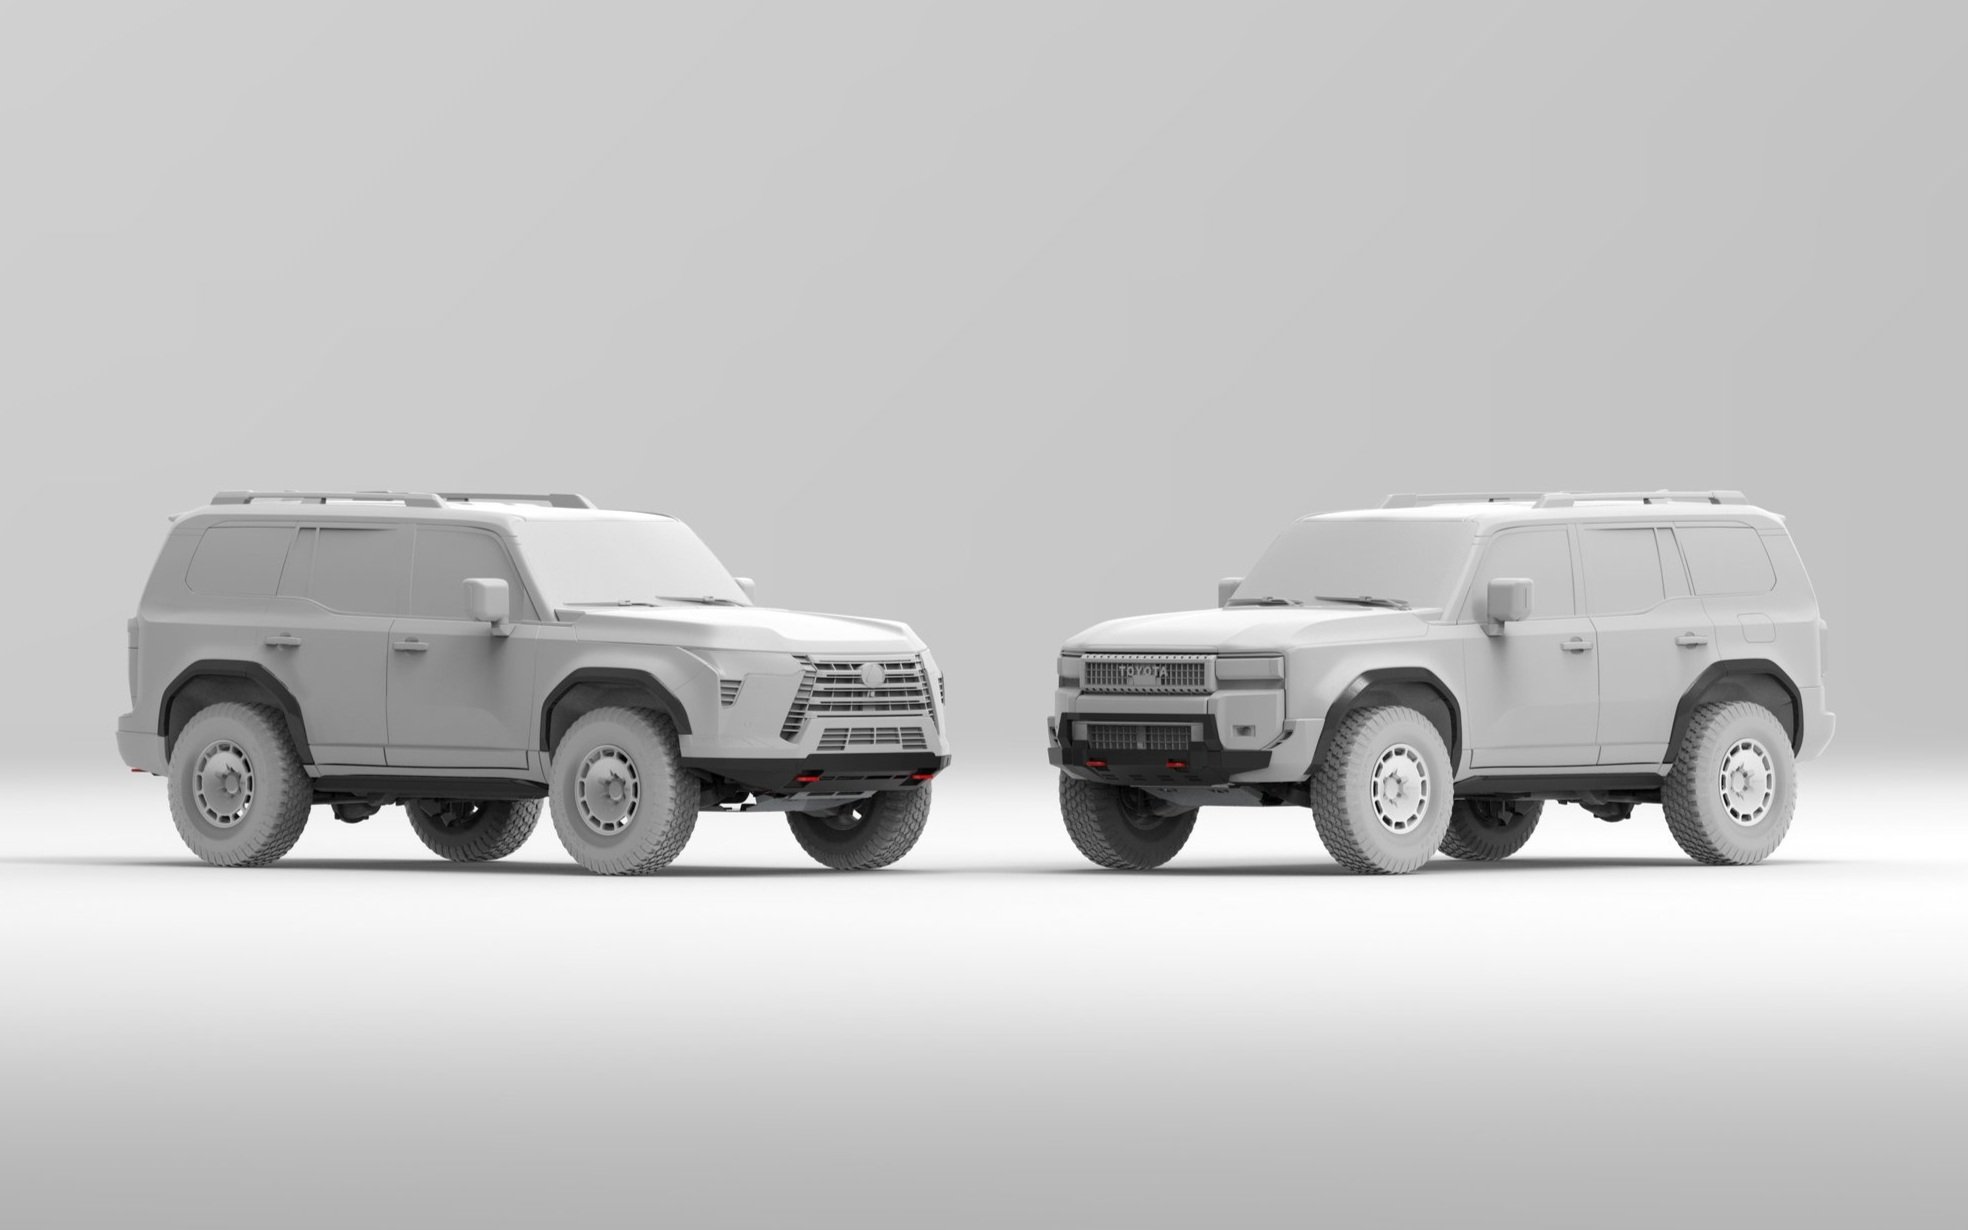
A quick preview of the bumper assembly.
Start by removing the lower air dams on each side of the vehicle by removing the 10mm bolts and the push pin clips as shown in the pictures.
Remove the air deflector on each side by removing the push pin in the wheel well and the tabs on the bottom (twist to remove).
Remove the bumper base cover held on by 10mm bolts and a push pin as shown in the picture.
Remove the front fender flares by first removing the push pins and 10 mm bolts as indicated in the pictures and then pull on the fender flares to release the clips on the back side. Remove any mud flaps first if equipped.
Remove the push pins and the 10 mm bolts as indicated.
Remove 8 push pins holding the radiator support cover, and remove the cover.
To release the push pin, simply push down on it (like the one on the left in the picture). You will need to push the tab back up before reinstalling the push pin later (shown on the right).
Remove three 10 mm bolts on top of the grille and two 10 mm bolts on the bottom of the bumper.
Disconnect one plug on each side of the bumper behind the wheel liner. Make sure to lift the lever on the passenger side (left hand drive) plug first before disconnecting.
Release the bumper tabs by pulling towards the indicated direction. Remove the bumper cover.
Remove the lower valance from the bumper. It is held on by 4 push pin clips on the bottom, two phillips screws and two white nylon clips on the back side.
Remove the plastic crash bar cover held on by clips as indicated.
Remove four M12 bolts and two M10 bolts on one side of the crash bar, while keeping the other side intact to prevent movement of the crash bar.
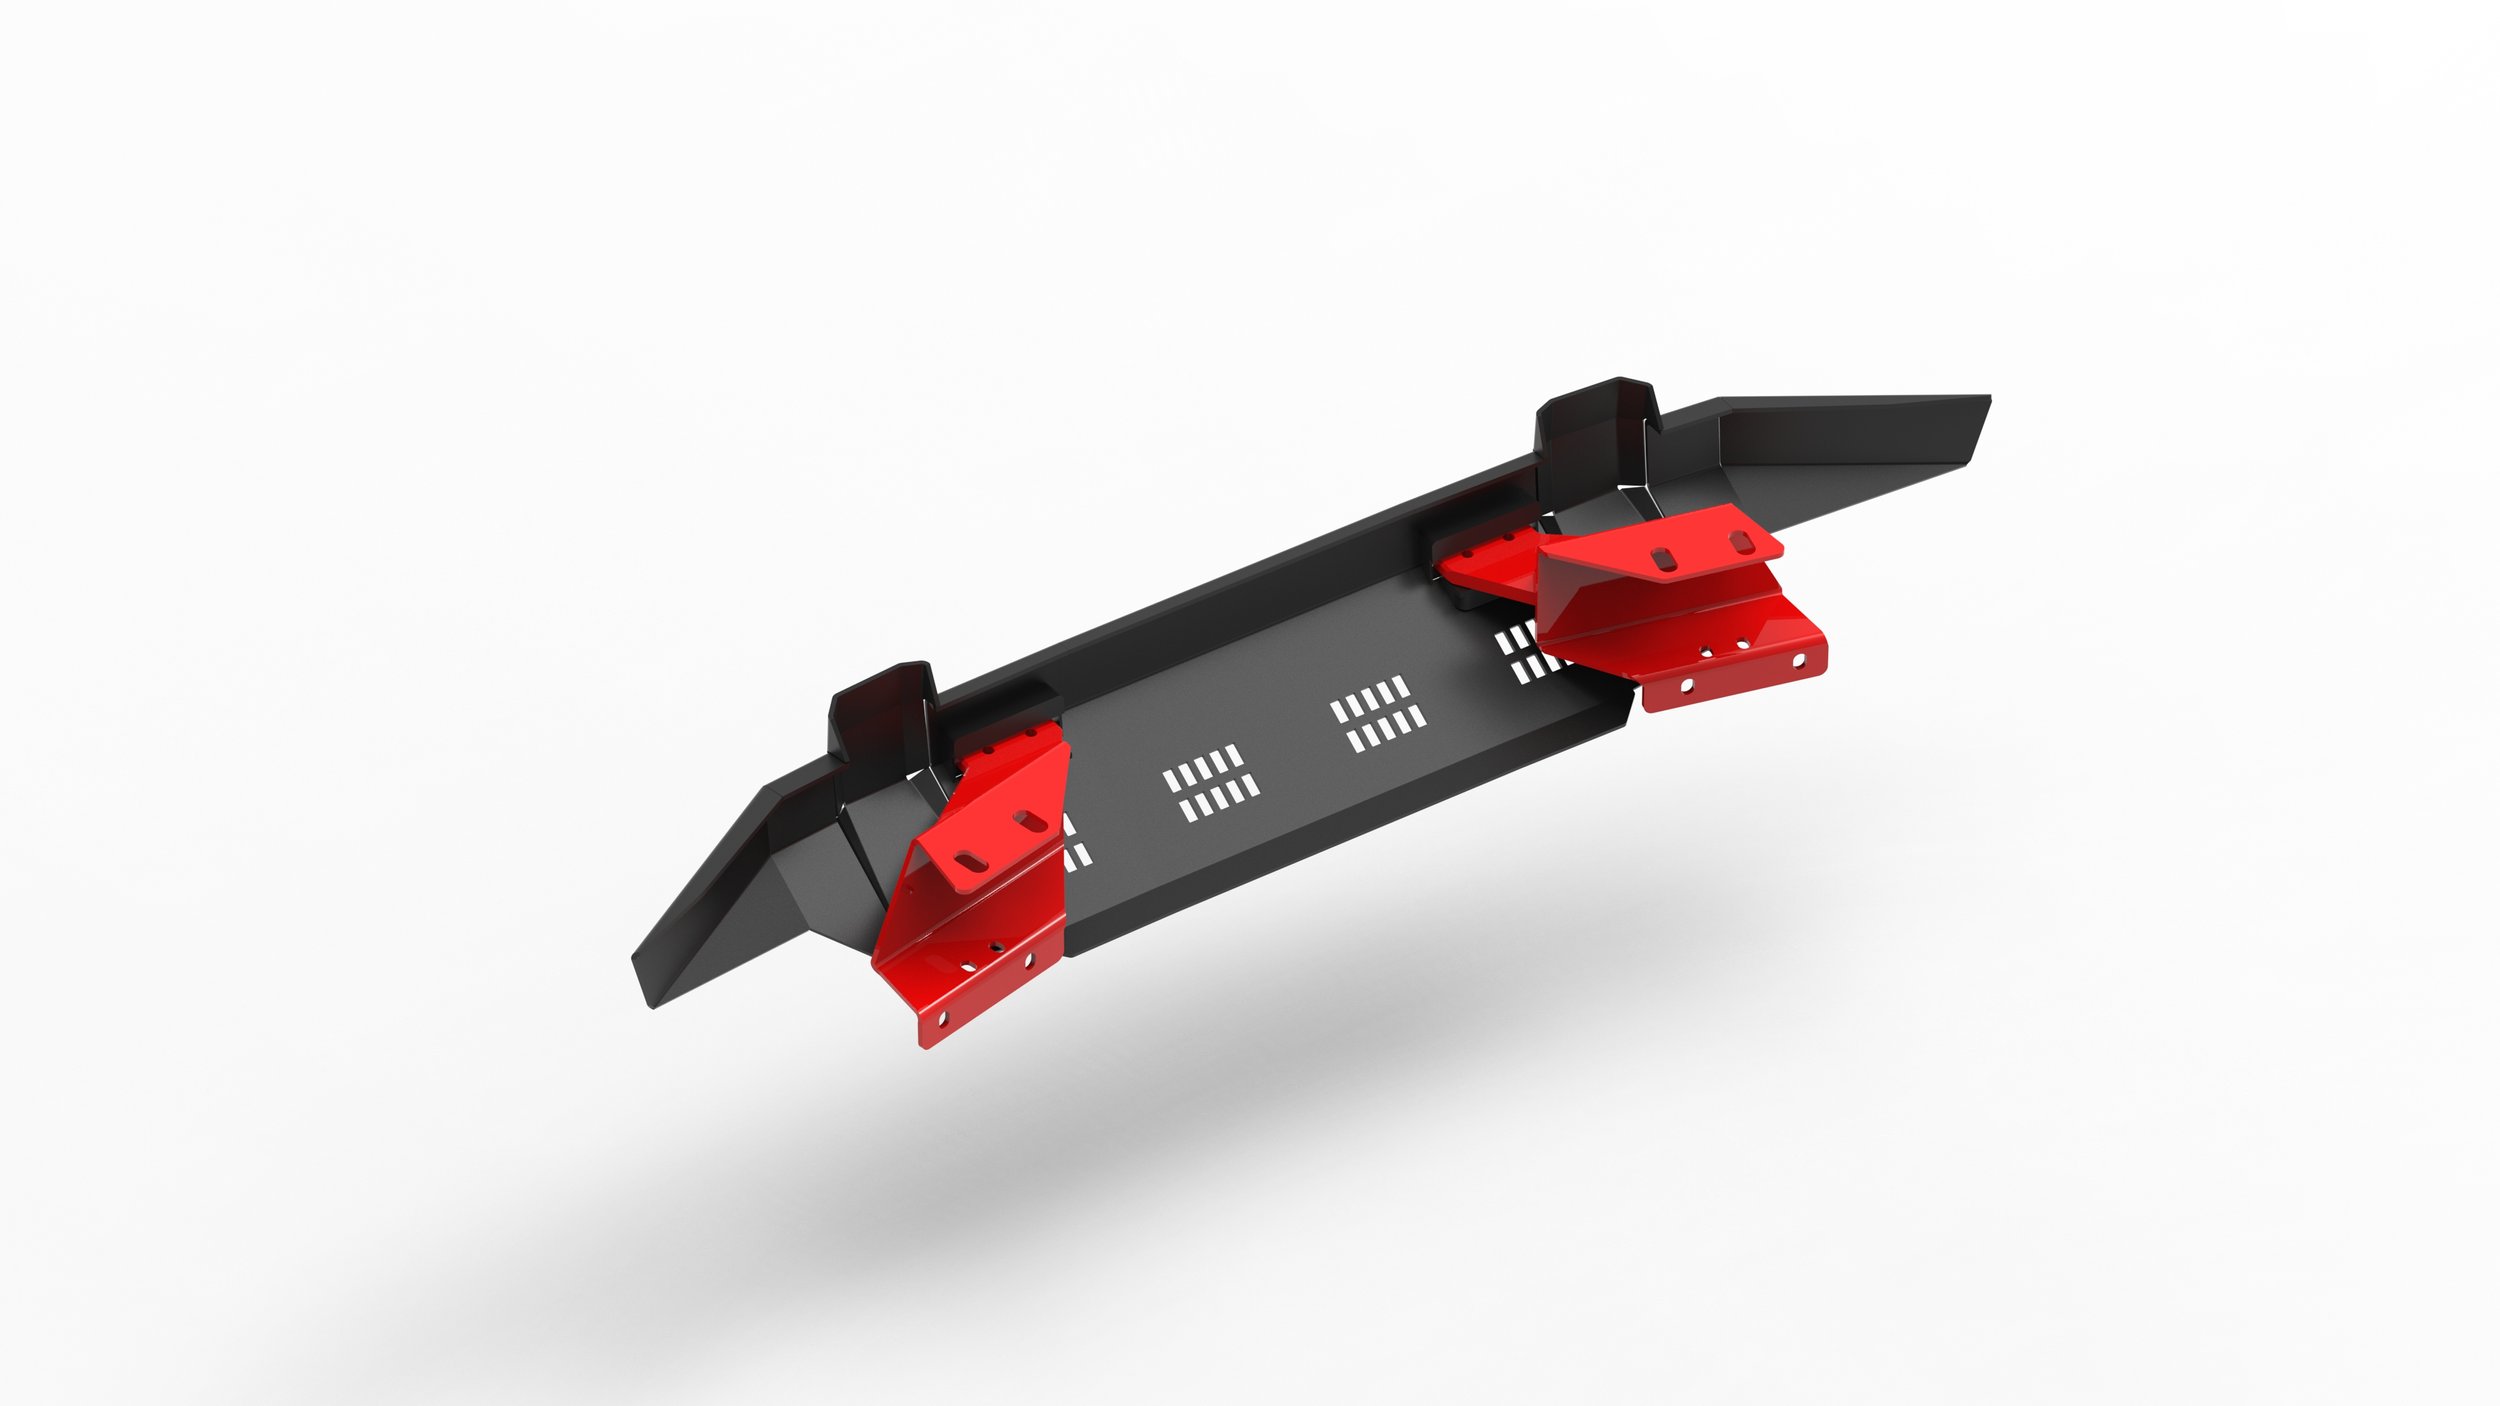
Install the recovery point by first hand tightening all the bolts. Add a supplied washer on each of the upper bolts only. Then tighten the lower 4 bolts, while leaving the upper bolts loose. Repeat on the other side.
Use a jack if necessary to adjust the angle of the recovery points while tightening the upper bolts, so that the recovery points are perpendicular to the crash bar and level to each other.
Torque down the M10 bolts (the 2 smaller bolts) to 35 ft-lbs./47 Nm, and the M12 bolts (the 4 larger bolts) to 75 ft-lbs./101 Nm.
Reinstall the bumper cover by reversing the previous steps. Don’t forget to plug back in the wiring harness on each side.
Slide the NYTOP hybrid bumper onto the recovery points and install 4 of the supplied M12 bolts with washers to secure the bumper to the vehicle.
The height can be adjusted with the supplied square spacer plates if needed. We recommend starting with 2 spacer plates on each side.
Torque down the M12 bolts to 75 ft-lbs./101 Nm. and the installation is complete.
Skip to the next step if you have purchased the Bull Bar along with the bumper.
With the bumper off the vehicle, line up the bull bar onto the bumper, and mark two holes on each side of the bumper. Drill 4 holes with a 10.8mm drill bit or equivalent, and tap the holes with a M12x1.25 (fine metric threads) tap.
Install the bull bar with the supplied M12x1.25 bolts with a washer on each bolt.
Install the bumper and bull bar assembly following the previous steps.
Enjoy the Recovery Points and the added protection!


