2025-Current Toyota 4Runner Front Hybrid Bumper Installation Guide

Car engine bay with eight bolts marked with red circles.
Close-up of a textured metallic surface with two small, textured, silver-colored fasteners or screws placed on it. Part of a black box or device is visible in the background.

For this installation, the front bumper needs to be removed.

First, remove all the push pins on the radiator support cover, in order to remove the cover.

To release the push pin, simply push down on it (like the one on the left in the picture). You will need to push the tab back up before reinstalling the push pin later (shown on the right).

Engine bay of a car with four black rubber stoppers circled in red along the edges of a plastic cover.
Front view of a car’s engine bay with the hood open, showing various mechanical components and three bolts circled in red.
Close-up of a car engine compartment showing a connector circled in red with a wire attached to a plastic component.
A close-up view of a car's internal electrical wiring and connectors within the engine compartment, featuring two electrical connectors with multiple colored wires visible.

Next, remove the intake air duct by removing the 4 push pins, remove 3 bolts (10mm) holding the upper grill, and disconnect the 3 wiring plugs shown in red.

Close-up of the underside of a vehicle's front bumper showing three screws circled in red and yellow, with a background of a garage floor and blue mats.
Close-up of the underside of a large black object with two small, circled indentations or screws, in a warehouse or industrial setting with a ceiling and fluorescent lighting visible.

Now remove the 2 bolts (10mm) and 2 tabs (shown in red) on the front of each front fender flare. For the 2 tabs, turn the pin counterclockwise and pull them out, to allow the tabs to slide out with the wheel liner.

Remove 2 bolts on top of each front fender flare.

Close-up of a metallic door hinge with a visible screw highlighted in red on the inside of a vehicle or appliance.

Pull the front of the front fender flares to reveal a phillips-head screw on each side. Remove the screw.

Close-up of a vehicle undercarriage showing four black bolts circled in red securing a silver panel, with a screw head visible near a red metal piece, and a large tire with an aggressive tread on the right.
Close-up of a mechanical or electronic device showing metal components and screws, with red circles highlighting two screws on a metal frame.

Remove all 10mm bolts on each bottom side of the bumper holding the wheel liners (and air dam if equipped), and 2 bolts in the middle. Now the front end is ready to be removed.

Inside view of an electronic device with various internal components, screws, and wiring, placed on a blue mat on a concrete floor.
Close-up of a black electronic device, possibly a gaming console or media player, with a sleek design and a camera or sensor on the front, placed on a bed or padded surface in a workshop or tech room.

Lay the bumper on a soft surface to avoid scratches on the paint.

Remove 18 phillips-head screws (shown in yellow) and release 14 tabs (shown in red), in order to remove the lower valance from the front bumper cover. You will have to lift up the fog light trim slightly to allow the lower valance to come off.

Inside view of a disassembled electronic device, with a component outlined in red, placed on a padded surface with screws nearby.
Inside view of an electric vehicle's battery pack with red circles highlighting screws, laid on a blue quilted mat with tools nearby.

Remove the two plastic plates on each side, as indicated in red. Push the fog light trim back in place, and reinstall the 9 phillips-head screws.

Front view of a vehicle with the front bumper removed, exposing the radiator, lights, and other internal components. The vehicle is on a concrete floor with large tires and some orange and blue details visible.

Remove the plastic crash bar cover held on by clips.

Close-up of a vehicle's engine bay showing bolts circled in red for maintenance or assembly.
Close-up view of a vehicle's undercarriage showing a metal clamp, bolts, suspension components, and a red shock absorber.

Remove the 2 M10 and 2 M12 bolts on each bottom side of the crash bar, as well as the front tow hooks on each side. You will not need the OEM tow hooks anymore.

Close-up of a wrench tightening a bolt on a red metal bracket under a vehicle in a garage.
Close-up of a red mounting bracket attached to a metallic component of a vehicle, with visible bolts and part of a black engine component.

Install the two front recovery points with the factory bolts. Note that the two M12 bolts with washers on them are for the lower recovery point bolt locations.

Torque down the M10 bolts (the 2 smaller bolts) to 35 ft-lbs./47 Nm, and the M12 bolts (the 4 larger bolts) to 75 ft-lbs./101 Nm.

Front view of a vehicle with the front bumper removed, revealing the radiator, and other engine components. Tools and equipment are on the ground, including a cordless drill, black clip, and red jack stands.
Front view of a partially assembled Toyota off-road vehicle in a workshop, with tools on a blue mat on the concrete floor.

Reinstall the bumper cover by reversing the previous steps. Don’t forget to plug back in the wiring harnesses.

Close-up of a mechanical or electronic component with a metal surface, red plastic piece, and blue masking tape with yellow text.
Close-up of a metallic surface with a red plastic safety lock latch labeled 'LOCK,' part of a piece of machinery or equipment.

Slight trimming may be needed to help clear the bumper recovery point cutout.

Close-up of a red reflector mounted on a black surface with two metal bolts.

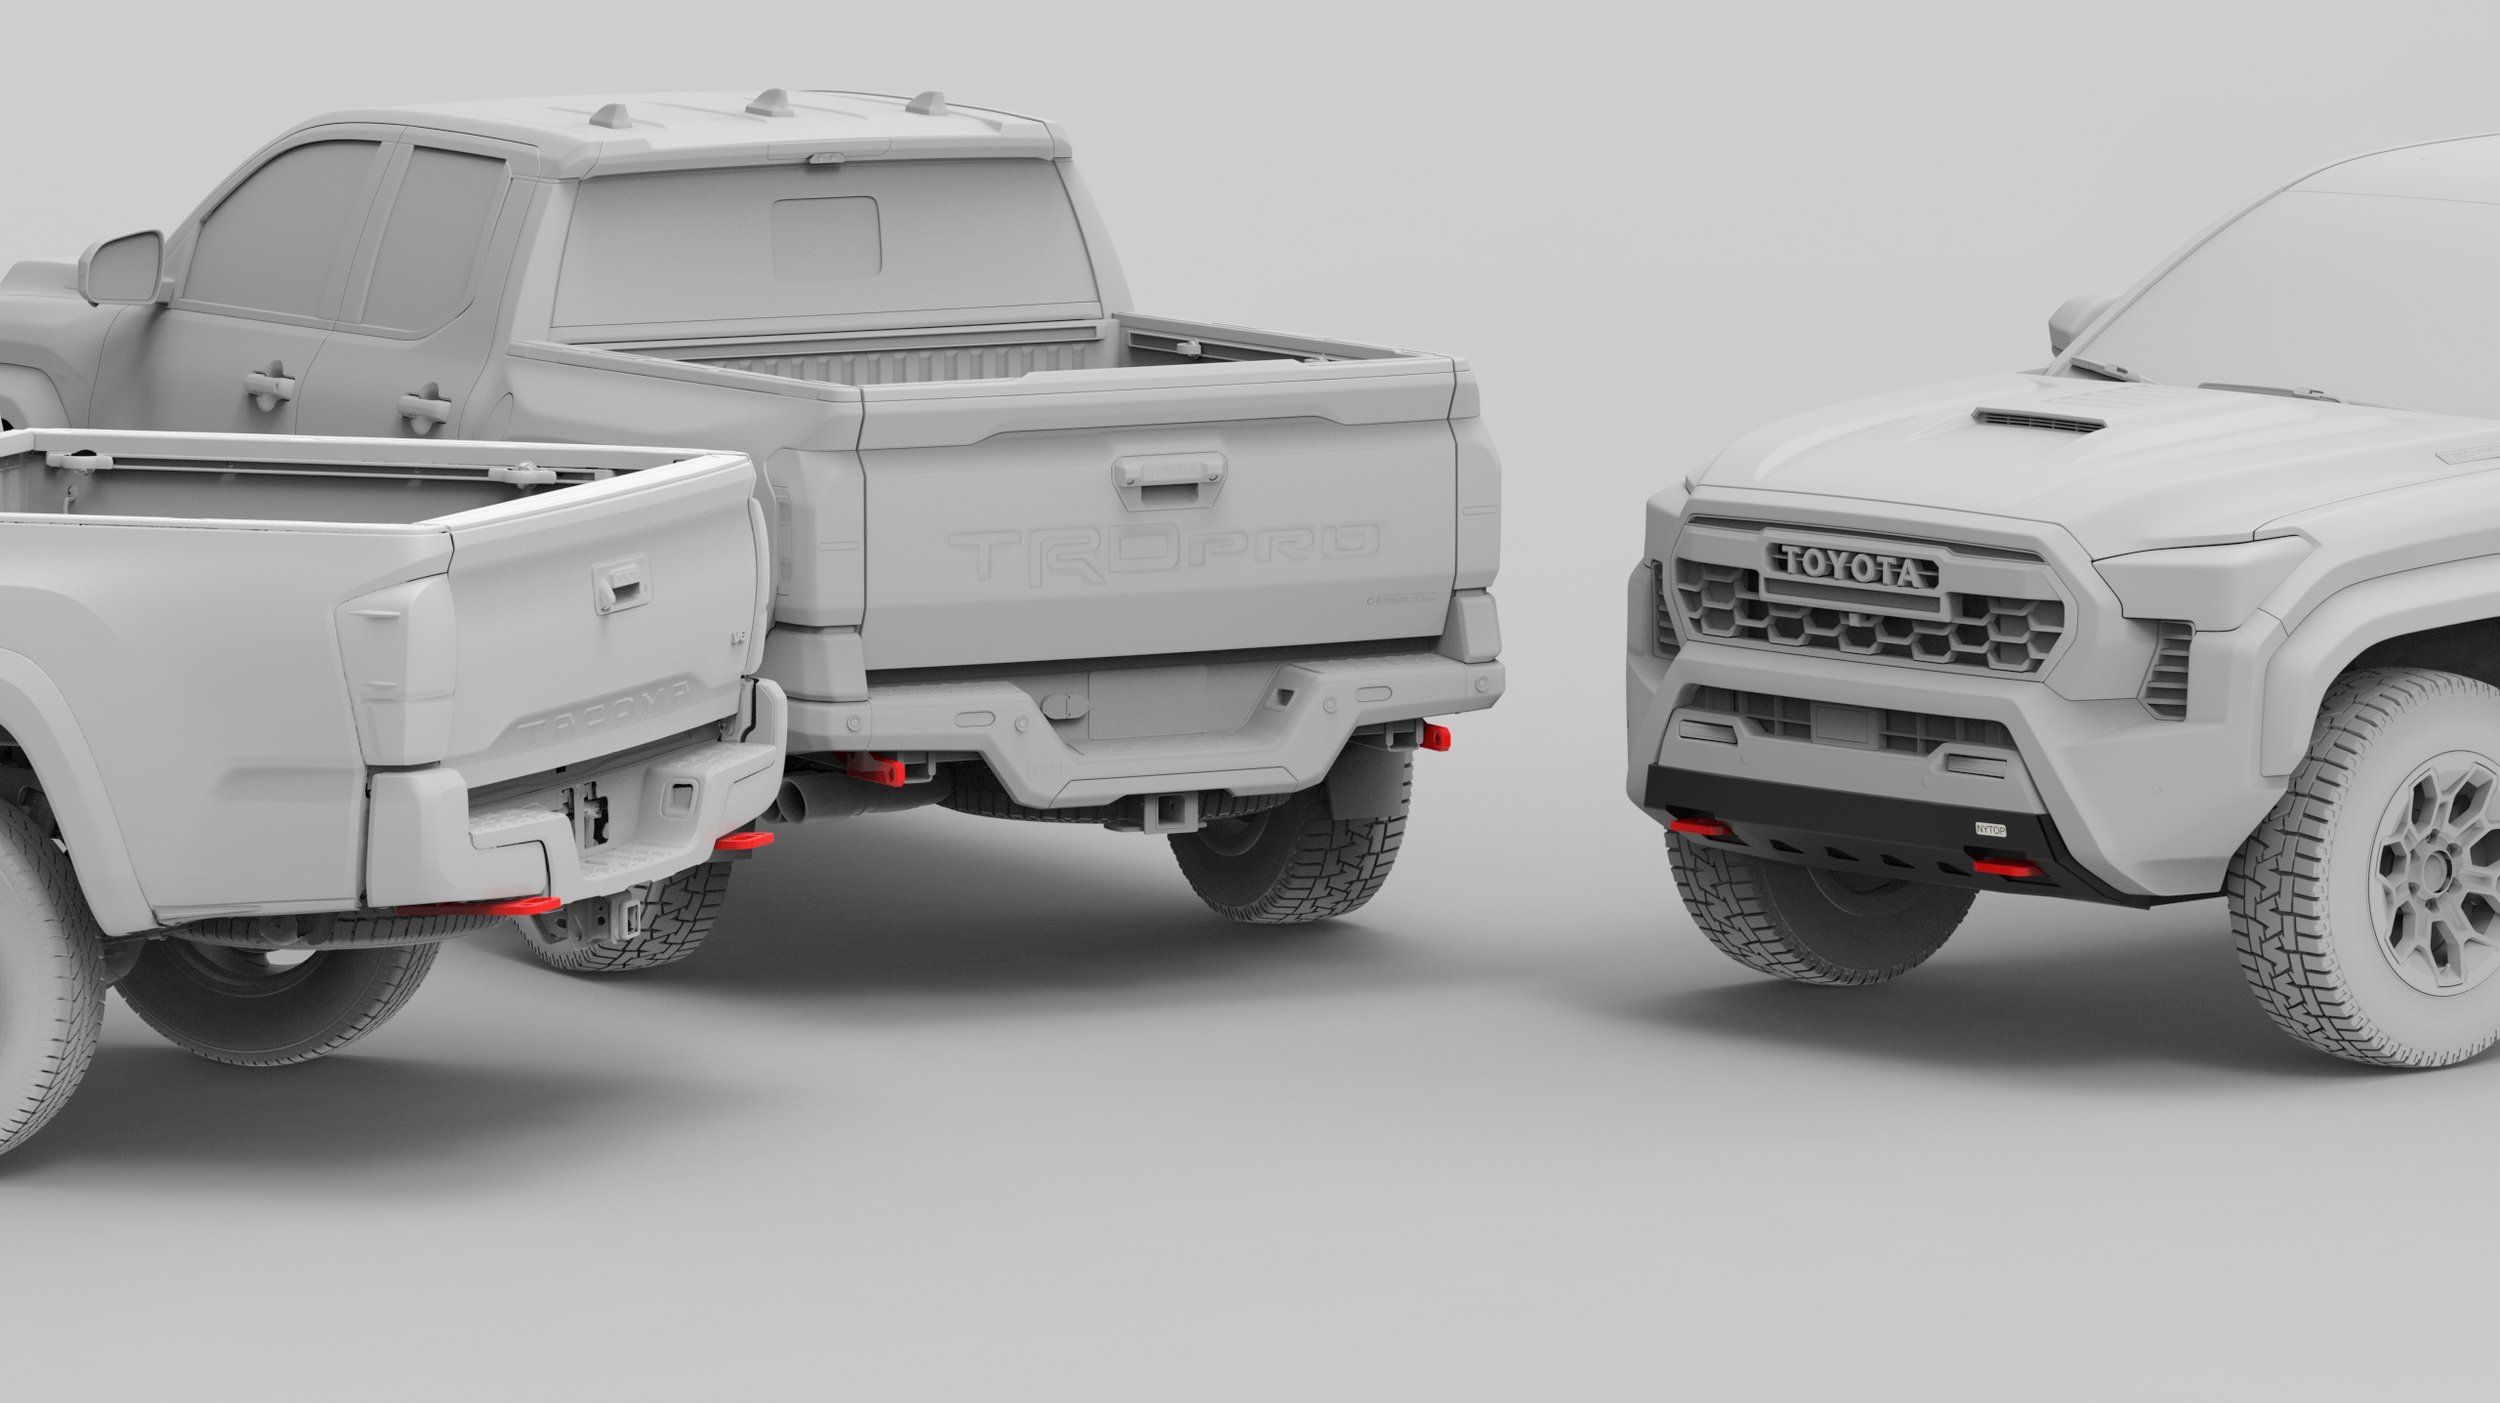
Slide the NYTOP Hybrid Bumper onto the Recovery Points. Use the provided spacer plates to fine tune the fitment.

Install 2 of the provided M12-1.25x30 mm bolts with a washer on each side, as shown in the picture. Torque them down to 75 ft-lbs./101 Nm.

A white off-road vehicle with large tires and rugged design, parked on a rocky desert landscape against a blue sky with some clouds.

Enjoy the Recovery Points and the added protection!
Not Your Typical Off-road Parts